1. Deploying HAWK eyeCon 5.0
Note
If you are deploying a new HAWK eyeCon 5.0 cluster please consider using the automated install process. Automated install process will reduce errors in configuration files and take less time to complete.
Once the system is installed and configured, deploying the high availability solution is the next step. The cluster consists of a variety of working sections, including:
Collection and correlation engines
Data Aggregation nodes
Dashboard
Reporting engines
Data Shards
Replication sites
The steps described below are required in order to deploy the HAWK eyeCon BDSA.
1.1. Deploying Directory Services
The sections below identify how to deploy the Primary and Secondary Directory Services.
1.1.1. Deploying the Primary Directory Service
In order to begin the deployment, the following steps are performed to deploy the primary directory service.
The first step is to enter the following commands:
user@host:# yum install hawk-shard
user@host:# cd /usr/local/hawk/data/hawk-shard && ./hawk-shard-config
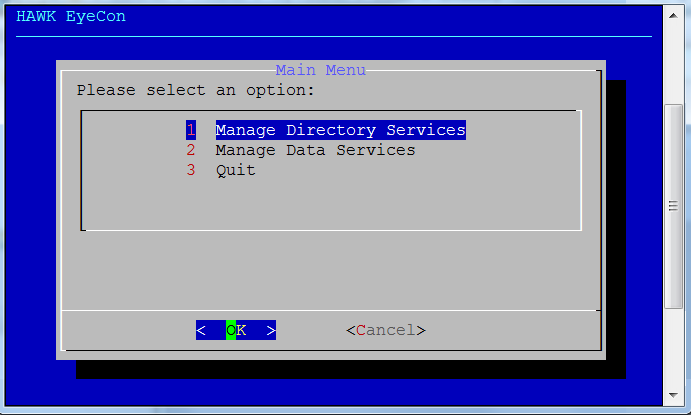
Select Option 1 for Manage Directory Services.
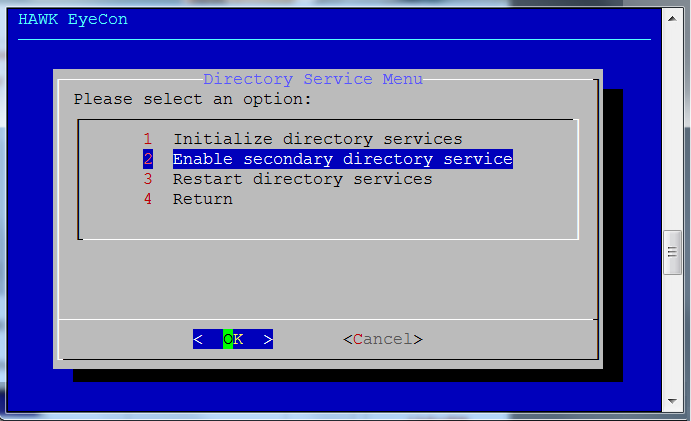
Select Option 1 for Initialize Directory.
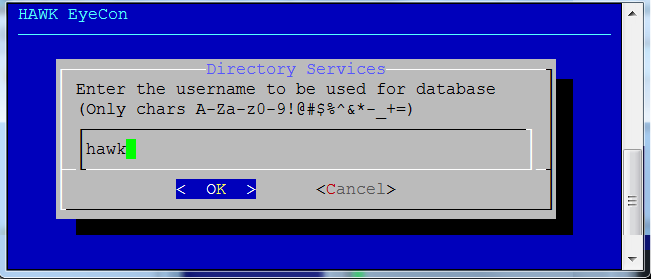
Enter the database user ID assigned for authentication.
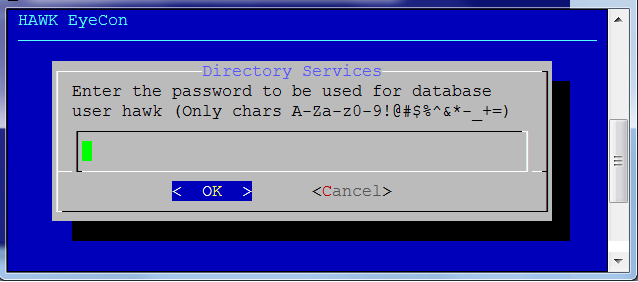
Enter the database user password assigned for authentication.
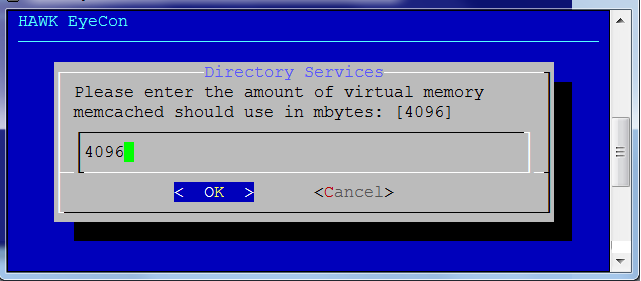
Enter the amount of virtual memory to be used for the resident memory cache pool (memcached).
Note
The default is 4096MB.
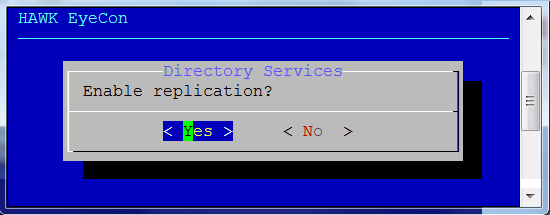
Enabling replication is an option, and is enabled ordisabled in this step.
Select <Yes> to enable replication (recommended) or <No> to disable replication.
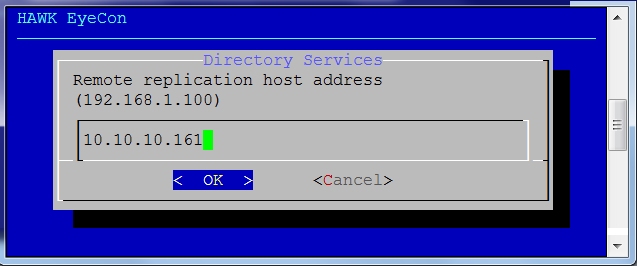
If replication is enabled, enter the server address in this window.
Note
If replication is disabled, this window is not shown.
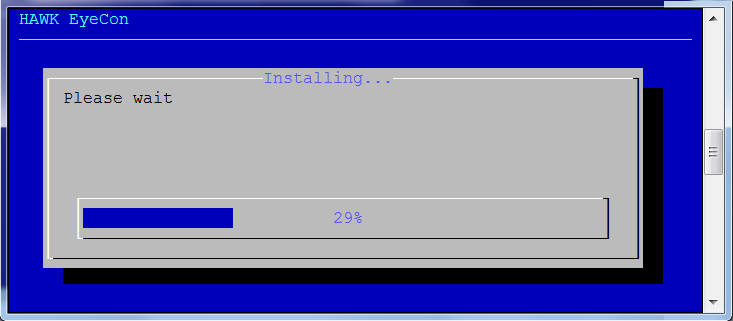
The progress bar displays next to indicate the progress that is being made for installation and configuration of the directory service.
1.1.2. Deploying the Required Secondary Directory Service
Perform the following steps to deploy the secondary directory.
The first step is to enter the following commands:
user@host:# yum install hawk-shard
user@host:# cd /usr/local/hawk/data/hawk-shard && ./hawk-shard-config
Select Option 1 for Manage Directory Services.
Select Option 2 Enable Secondary Directory Services.
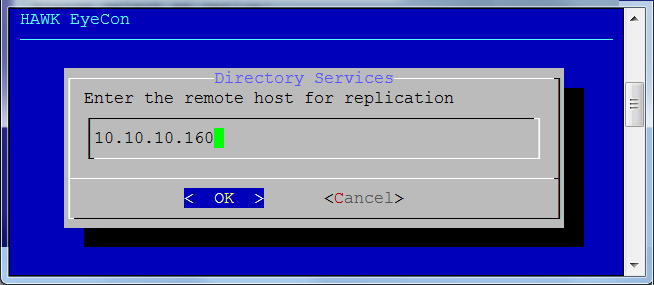
Enter the IP address of the remote host to be used for replication.
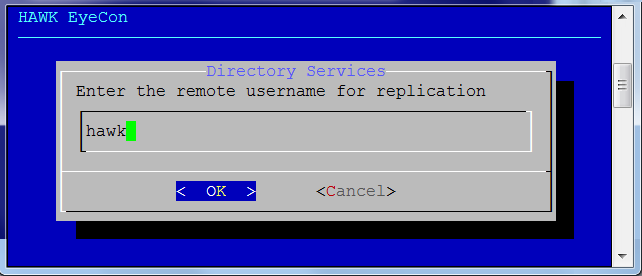
Enter the Primary Directory Service remote username that is usded for replication.
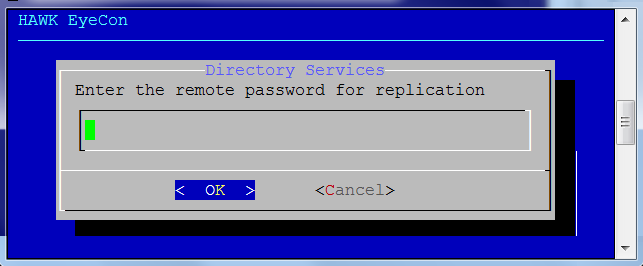
Enter the Primary Directory Service remote user password that is used for replication.
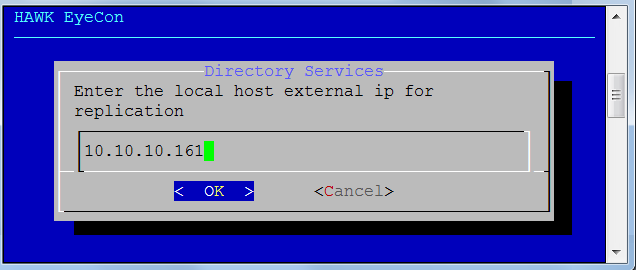
Enter the Secondary Directory Service external address to be used for replication.
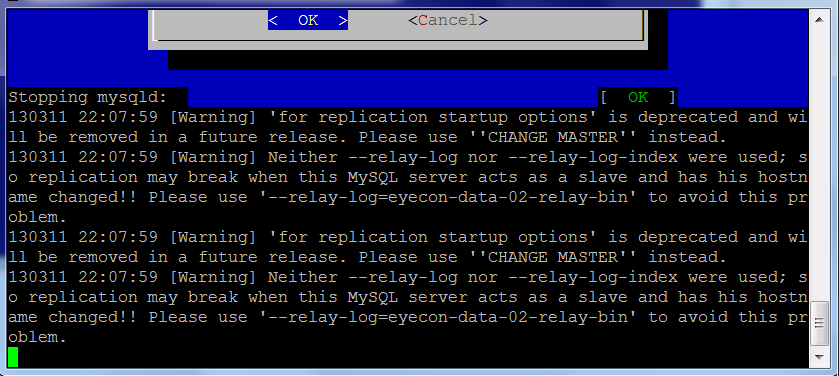
8. During the configuration process, secondary output may display, as shown below: This displays the normal configuration process..
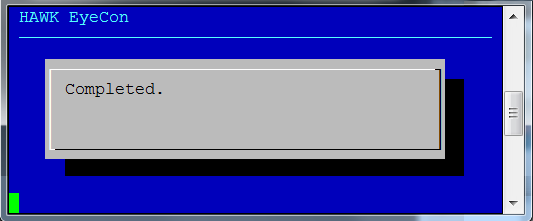
When all of the configuration processes are successfully completed, the Directory Service is ready for use, and the completion dialog box displays, as shown:.


