2.2. Data Shard Services
A new shard must be created before the data aggregation services are enabled. In addition, two additional data shard instances must also be created to ensure a three node replica set. The following provides instructions to create a new data shard.
2.2.1. Deploying a New Shard
To create a new Data Shard, the following steps must be performed:
Enter the following commands:
user@host:# yum install hawk-shard
user@host:# cd /usr/local/hawk/data/hawk-shard && ./hawk-shard-config
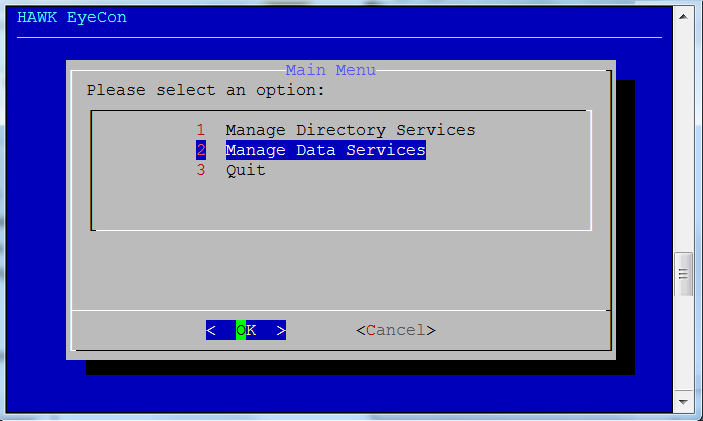
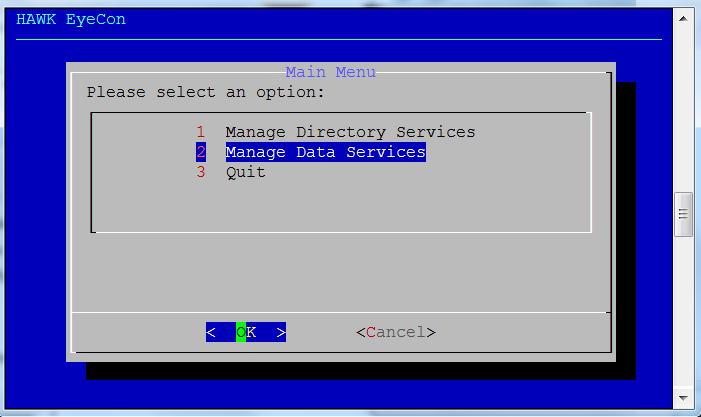
Select option 2 for Manage Data Services.
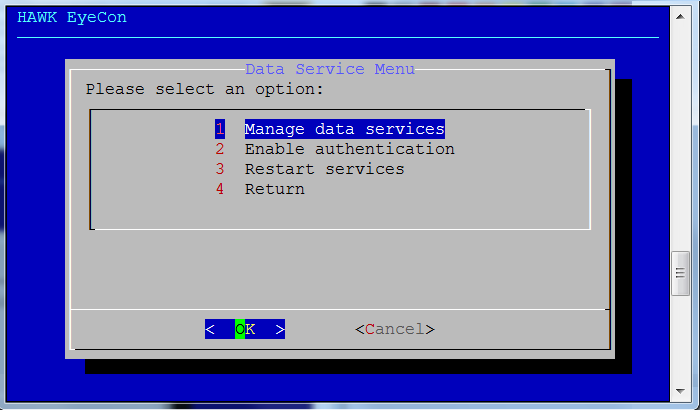
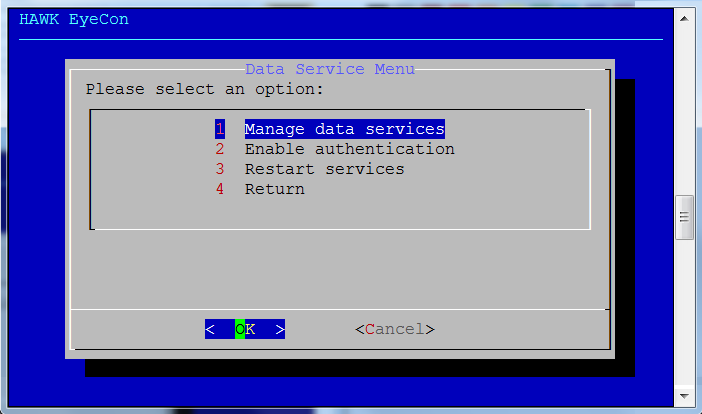
Select option 1 for Manage Data Services.
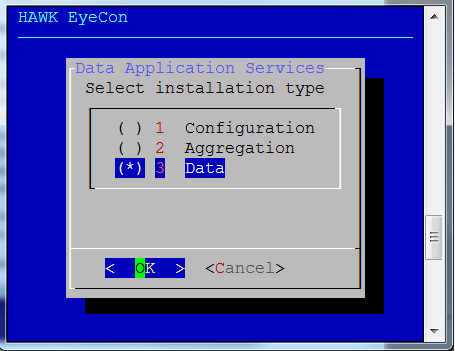
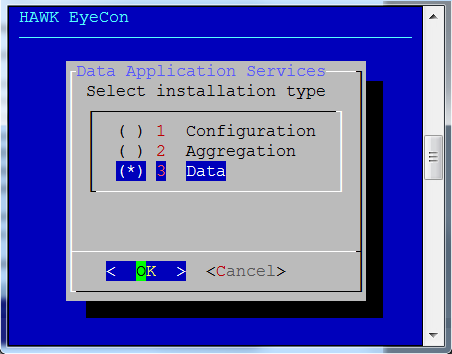
Select option 3 for Data.
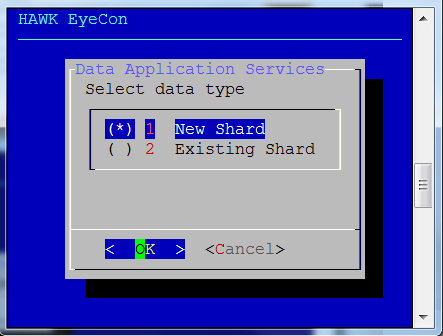
Select option 1 New Shard.
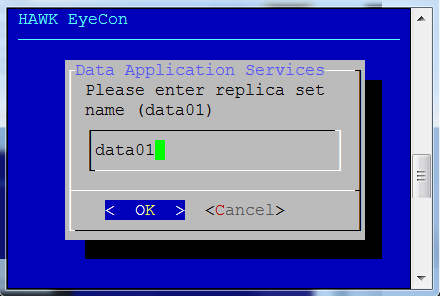
Next enter the replica tag name for the new shard to enable easier identification of the shard. This could be the Customer name, location name, leveraged name, or any name that makes it easy to identify the shard.
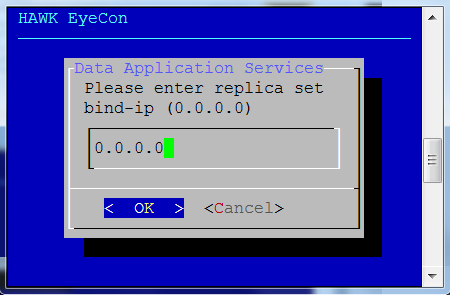
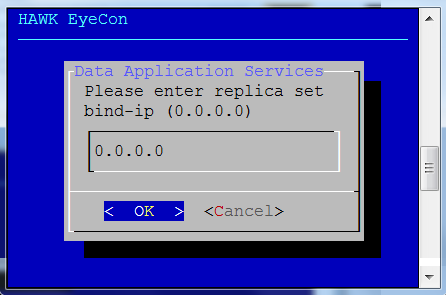
Enter the bind IP address for the replica.
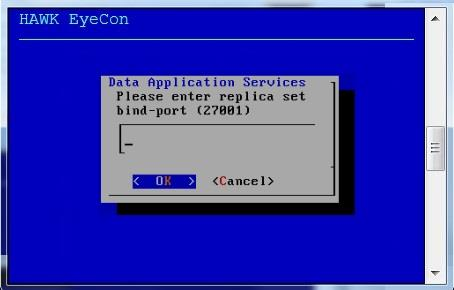
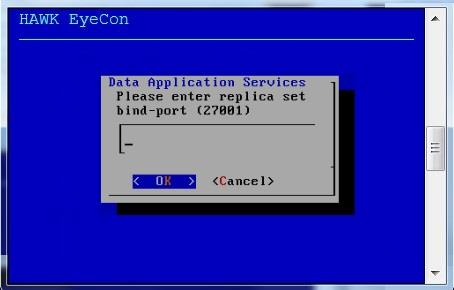
Enter the bind port for the replica.
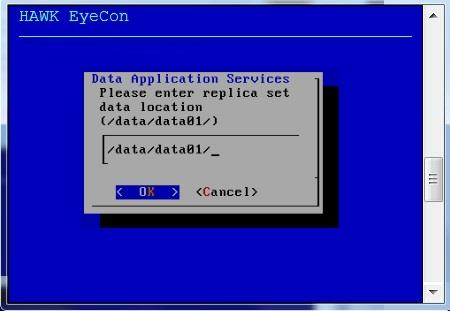
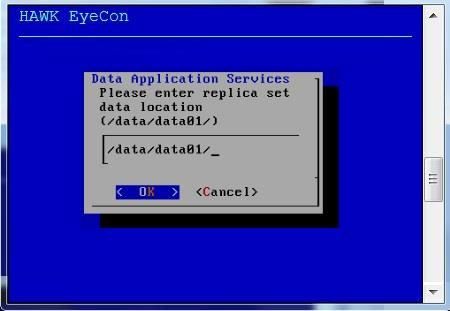
Enter the location where the replica data is to be stored. This is important for data store performance to ensure greater speed of the application.
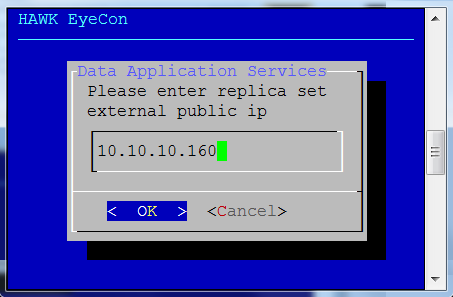
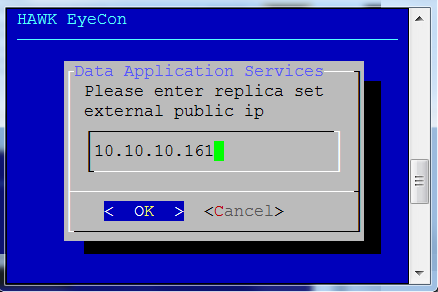
Enter the replica’s primary IP external address.
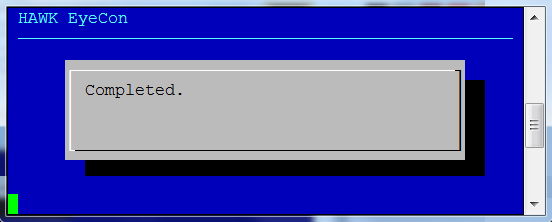
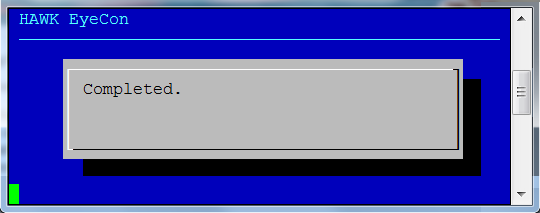
11. Once the primary replica finishes the initialization process, a dialog box opens to indicate that the installation is complete.
2.2.2. Deploying an Existing Shard
As additional Shards are created, they must be deployed. The following steps provide instructions for deploying existing Shards.
Enter the following commands:
user@host:# yum install hawk-shard
user@host:# cd /usr/local/hawk/data/hawk-shard && ./hawk-shard-config
Select option 2 for Manage Data Services.
Select option 1 for Manage Data Services.
Select option 3 for Data.
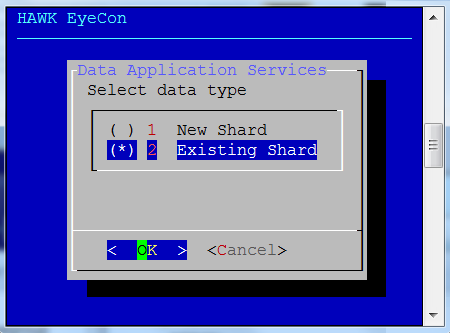
Select option 2 Existing Shard.
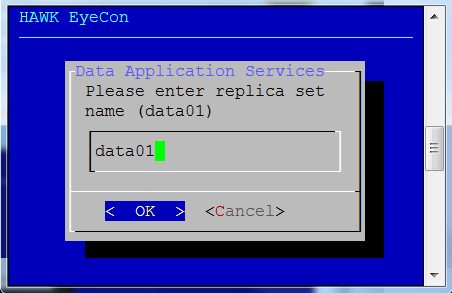
Enter the Shard’s tag name.
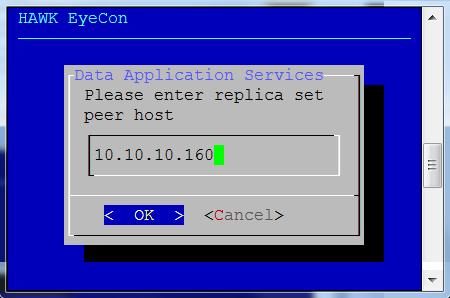
Enter the peer IP host address for the replica.
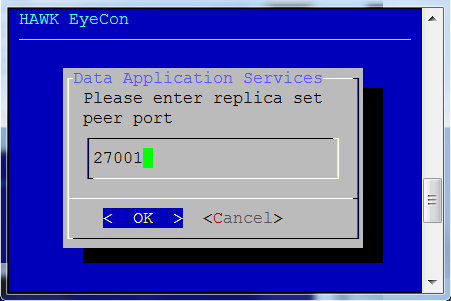
Enter the peer host port for the replica.
Enter the bind IP address for the replica.
Enter the bind port for the replica.
Enter the location where the replica data is to be stored.
Enter the primary external IP address for the replica.
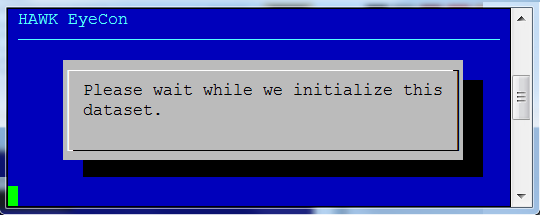
While the primary replica works through the initialization process, this dialog box opens:
When the initialization process is completed for the replica, this notification dialog box opens.
