10. Understanding Notifications
The data for the Notifications is gathered on the Dashboard. These Notifications are shown for the specific Group selected. The analyst can view different Notifications identified for the selected Group, and it allows the analyst to manage the scoring. This section identifies how the Notifications are set up and how to manage the Notifications.
10.1. Working with Notifications
The Notifications Dashboard provides the information about the Resources in a quick snapshot. This section shows the steps to view the Notifications Dashboard and select a different Group for the Notifications.
10.1.1. Viewing the Notifications Dashboard
In order to view the Dashboard for the Notifications, follow these steps:
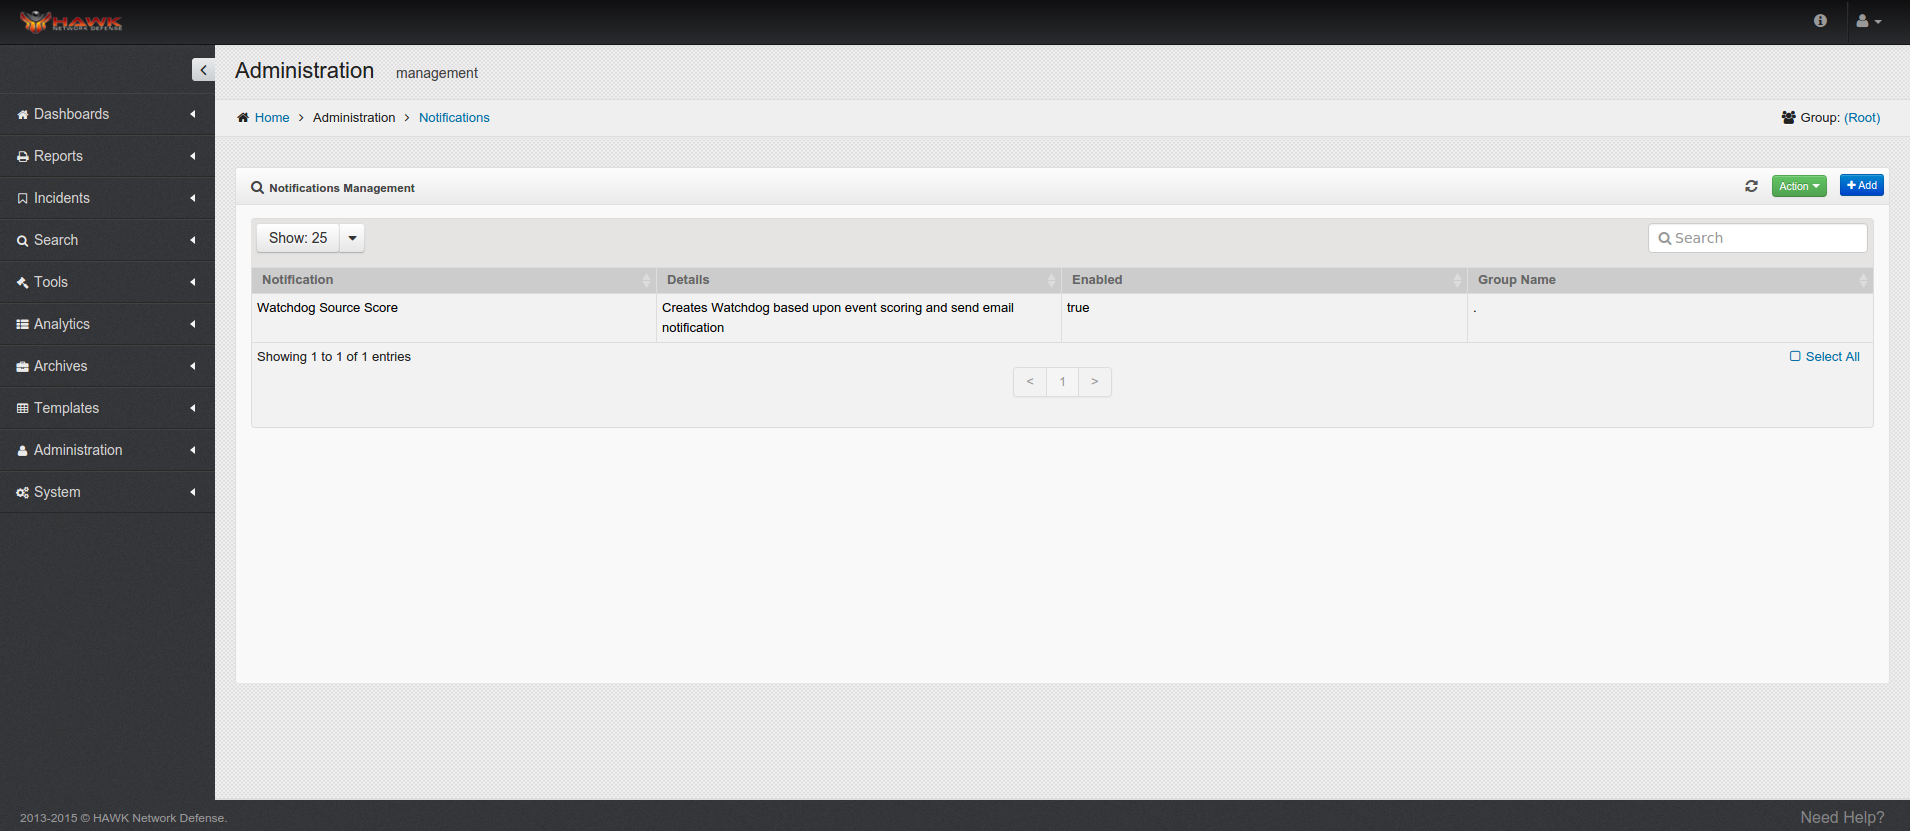
To access the Notification Dashboard, Click on .
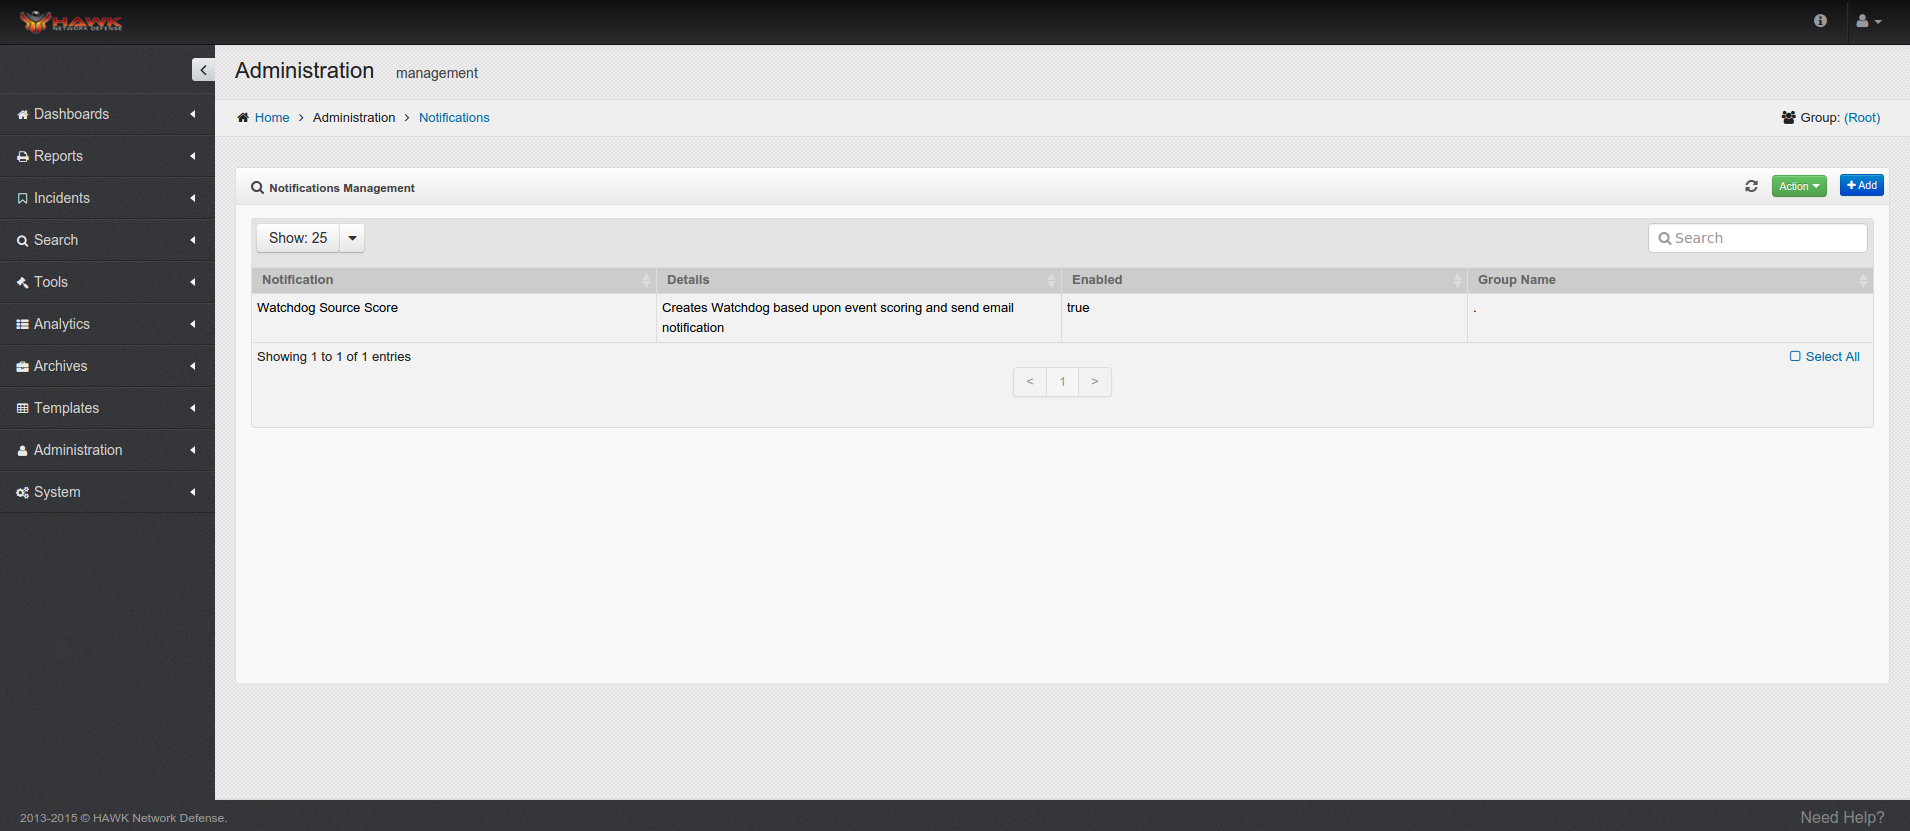
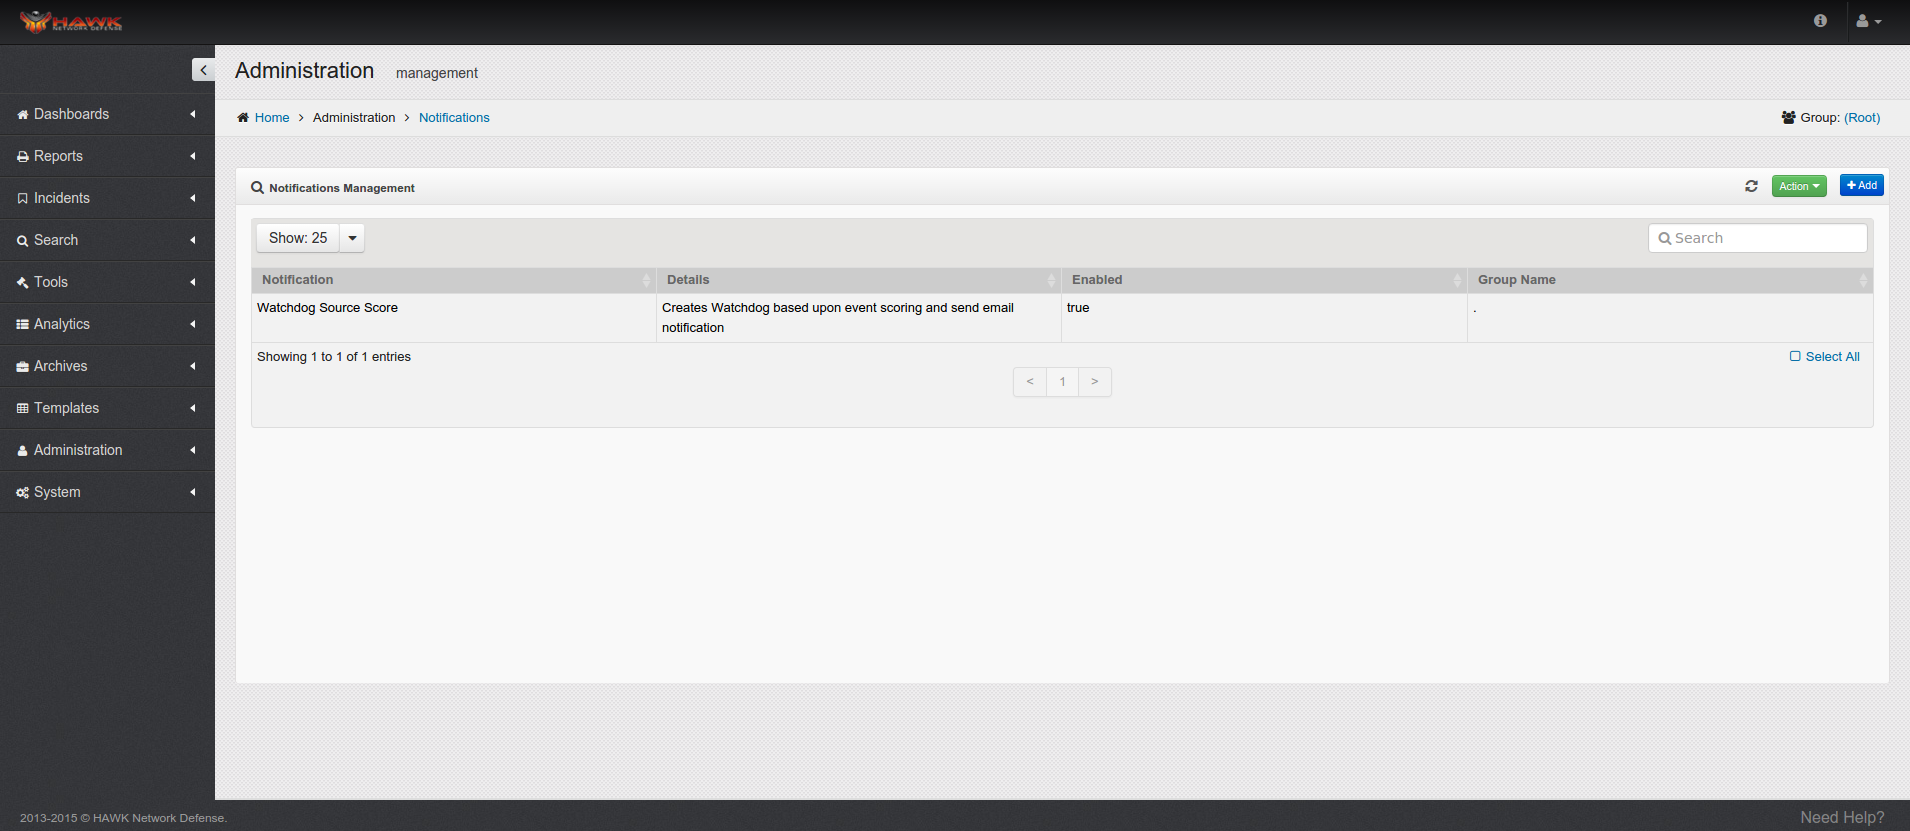
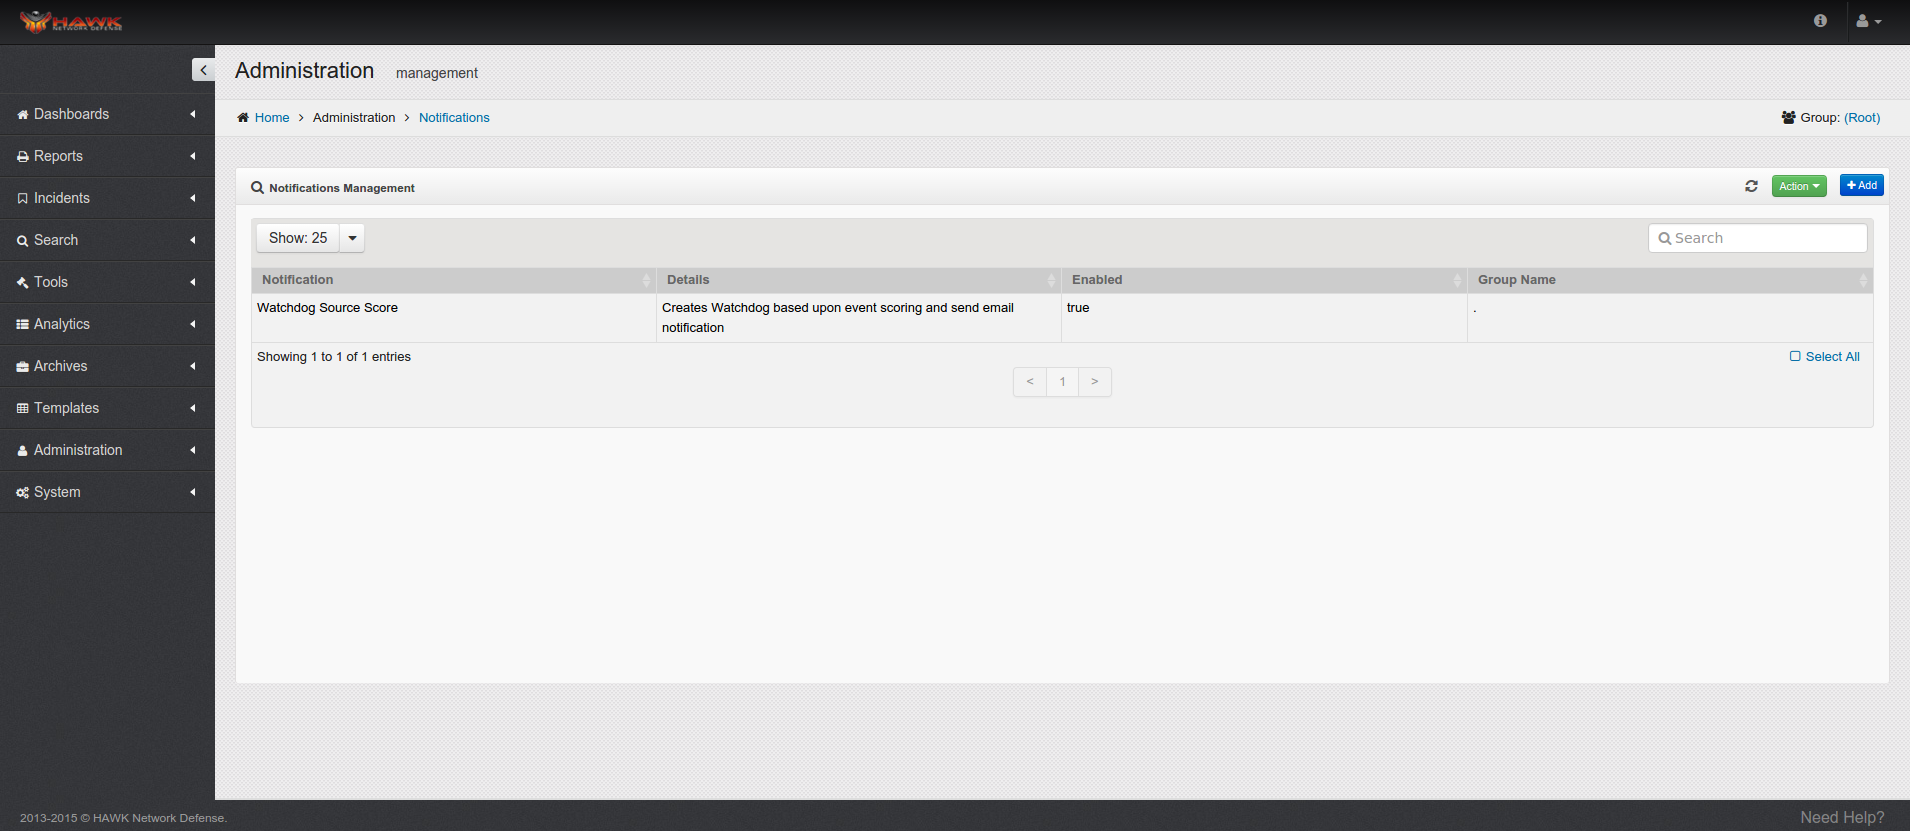
This window shows:
Notification Name.
Details regarding the Notification.
If the Notification is enabled or not.
Group Name where the Notification is assigned.
10.1.2. Selecting a Different Group for the Notifications
When an analyst is working with different customers/groups, they can select a different group by following these steps:
To access the Notification Dashboard, Click on .
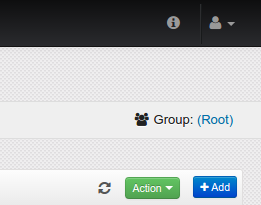
On the top right side of the Group Administration window, Click on the link to the Group shown. In this example, the Group is (Root).
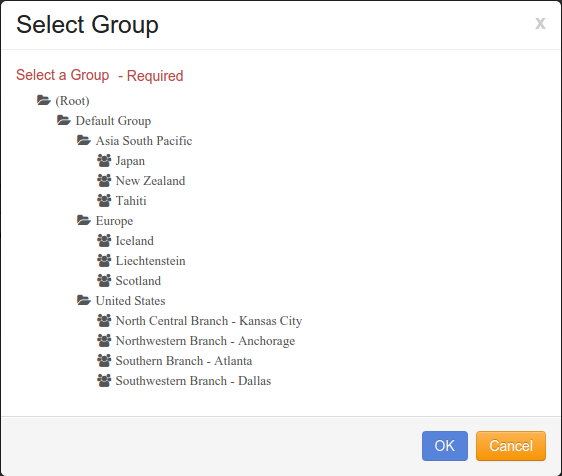
The “Select Group” window opens.
Click on the desired Group.
Click on the button and the selected Group is changed on the Notifications Administration window. The information displayed reflects the data in the selected Group.
10.2. Managing Notifications
Notifications come in many forms and are shown in the Notifications section of Account Management.
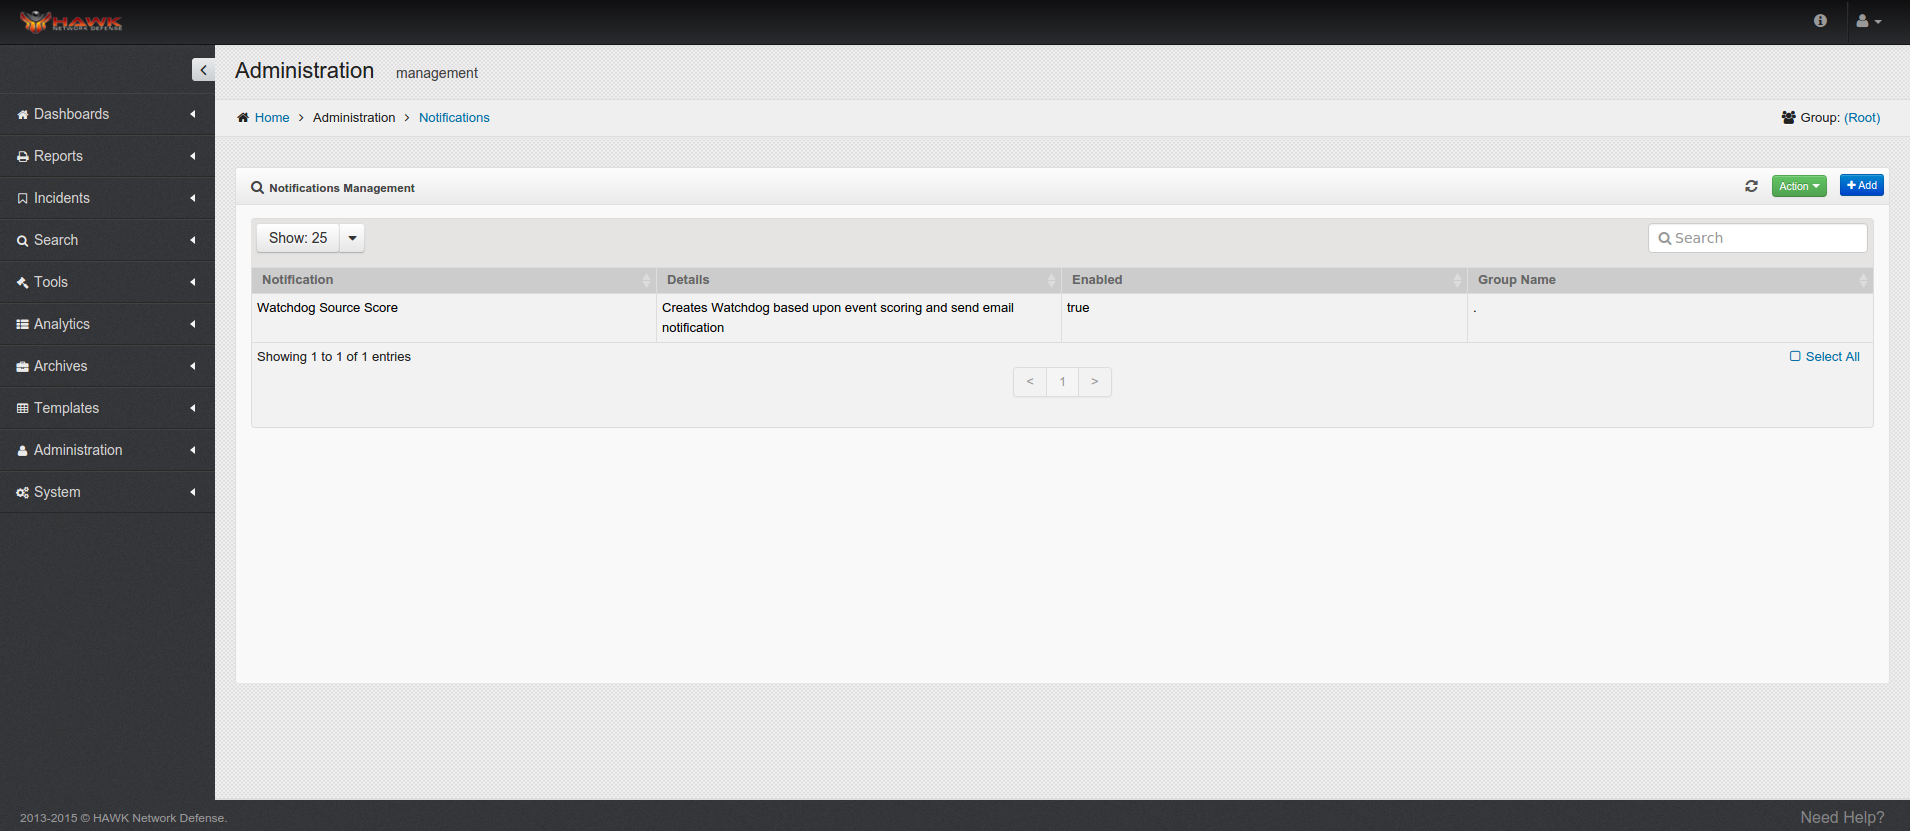
To access the Notification that are sent, Click on .
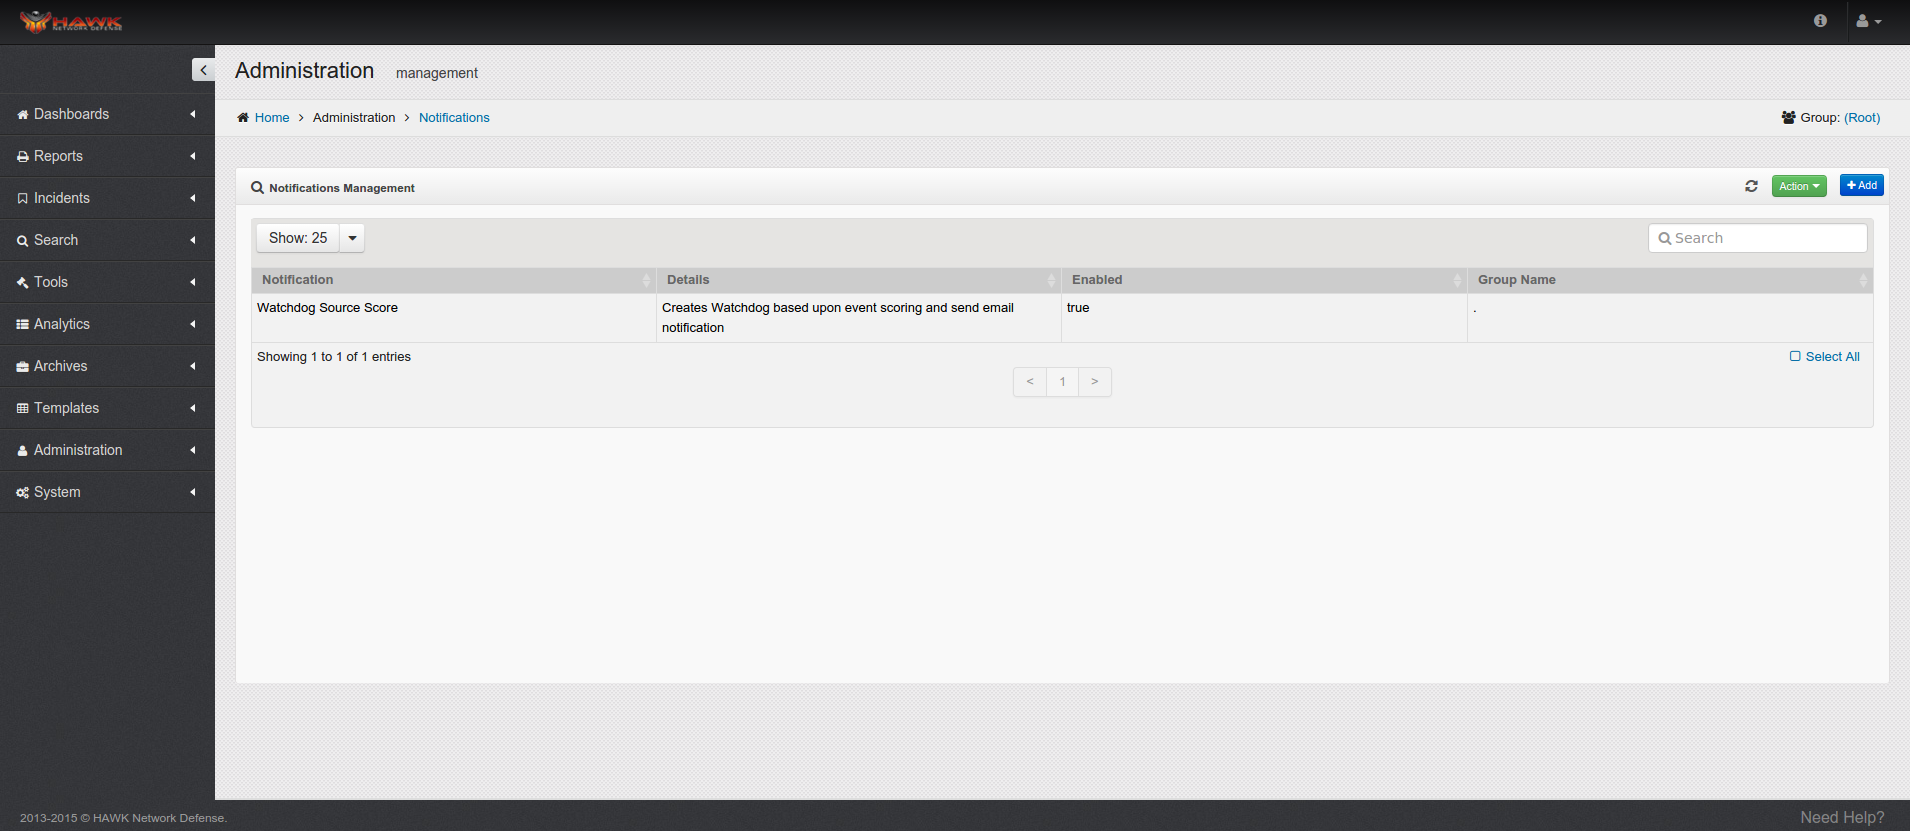
This window shows:
Notification Name.
Details regarding the Notification.
If the Notification is enabled or not.
Group Name where the Notification is assigned.
10.2.1. Creating Notifications
Notifications can be created by following these steps:
To access the Notification Dashboard, Click on .
Click on the button.
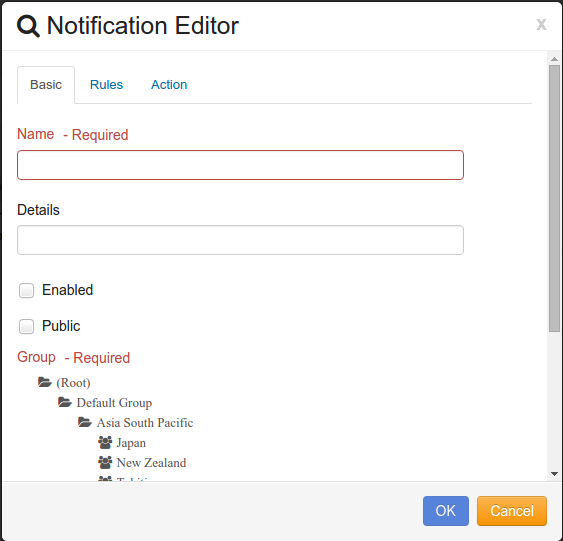
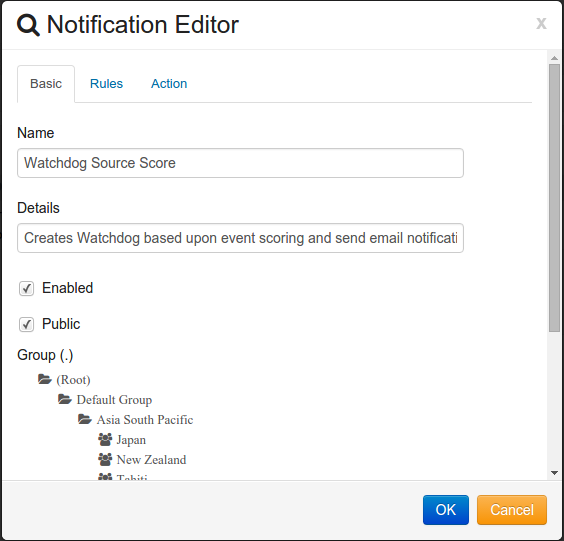
The “Notifications Editor” window opens, as shown:
Enter the name of the new Notification. Next enter additional details that better describes the new Notification.
Check Enabled for the Notification to be used.
Check Public to allow authorized user of the group to view and edit the Notification.
Select the Group to which the new Notification is assigned.
Note
Notifications apply to all records within the assigned Group and below.
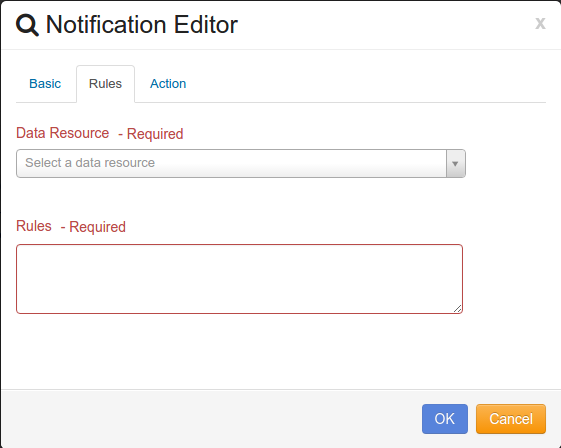
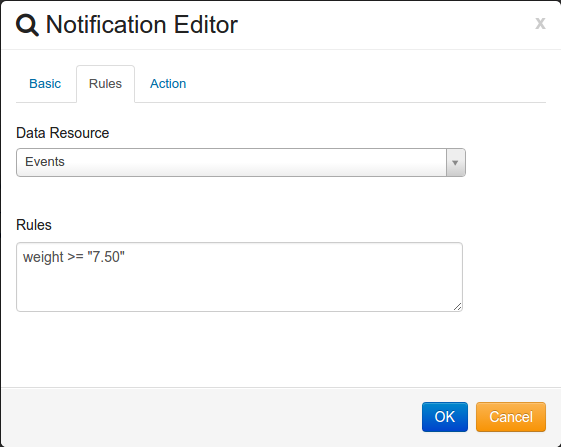
The next step is to select the “Rules” tab on the “Notification Editor”.
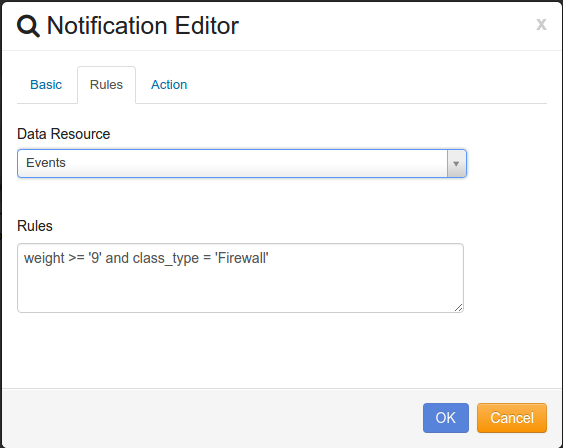
The first step to setting the Rules for the Notification is to select the Data Resource.
The data Resources can be:
Events
Resources
Incidents
Vulnerabilities
Audit
The next step is to enter the Search Parameters for the Rule.
As an example:
weight >=”9.0”
class_type = “Firewall”
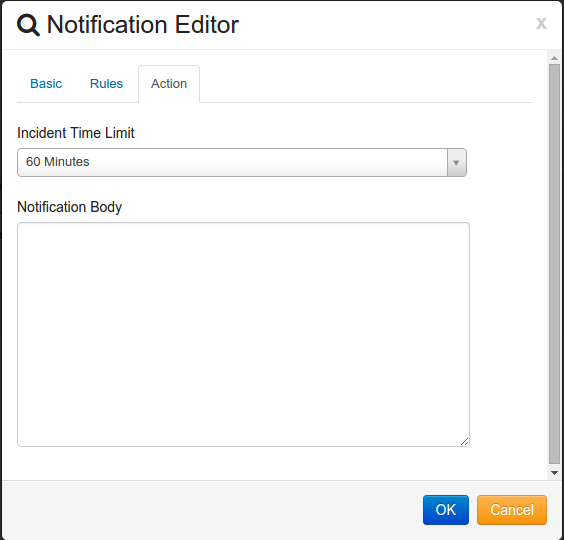
The next step is to click on the “Action” tab.
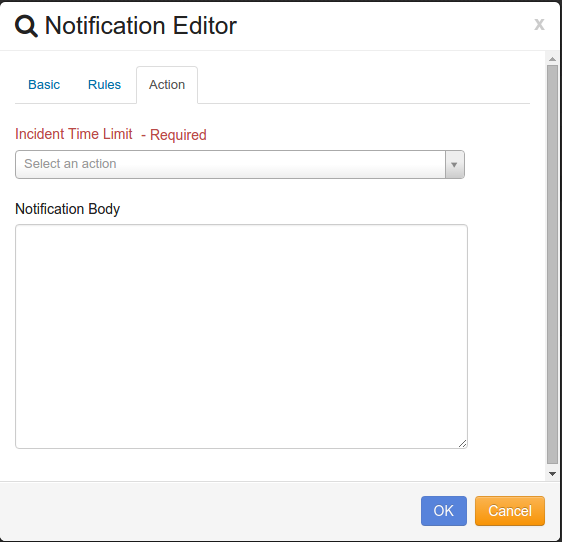
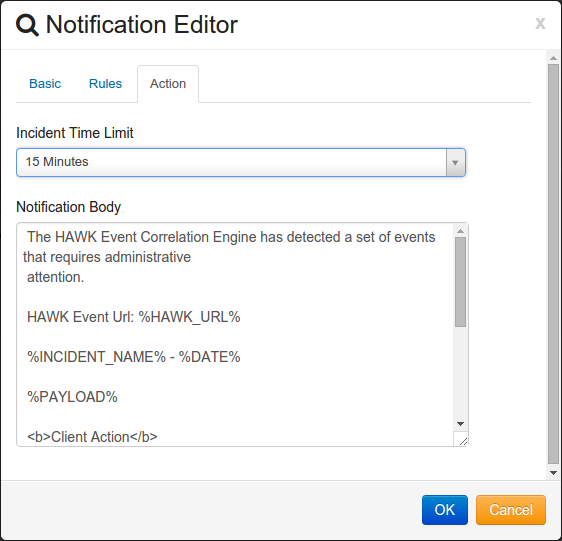
The next step is to set the Time Limit for the new Notification.
The Choices are:
5 Minutes
15 Minutes
30 Minutes
60 Minutes
90 Minutes
3 Hours
6 Hours
12 Hours
The next step is to enter the Notification Body.
The following are shown in the Notification Body:
%HAWK_URL% - Navigates to the incident manager for this incident.
%INCIDENT_NAME% - Is the name that was generated for the incident.
%INCIDENT_ID% - Is the ID that was generated for the incident.
%DATE% - Date the incident was created.
%PAYLOAD% - Contain all events that were available when the event was created.
An example of the Notification that can be entered in the Notification body field is:
The HAWK Event Correlation Engine has detected a set of events that requires administrative
attention.

HAWK Event Url: %HAWK_URL%

%INCIDENT_NAME% - %DATE%

%PAYLOAD%

<b>Client Action</b>

Please investigate this alert to determine if this is indeed an incident of importance. If you
determine a persistent false positive that cannot be immediately rectified, please inform your
administrator in order to avoid repeated notifications of this event.

The Security Operation Center (SOC) is available respond to any additional details you may have,
or assist you with this event.
The last step to creating the new Notification is to click on the button.
10.2.2. Updating Notifications
If any of the existing Notifications need to be changed, follow these steps:
To access the Notification Dashboard, Click on .
Double-Click on the Notification to change.
The “Notifications Editor” window opens to the tab, as shown
The following information, can be modified:
Name
Details
Group
If the Data Resource or Rules criteria for the selected Notification needs to change, Click on the tab.
Select the new value for the Data Resource or the Rules.
If the Incident Time Limit or the Notification Body for the selected Notification needs to change, click on the tab.
When all changes are made, click on the button to save the changes.
10.2.3. Exporting Notifications
If Notifications need to be exported to a csv file, Follow these steps:
To access the Notification Dashboard, Click on .
Select the Notification or Notifications to export.
Click on .
A dialog box opens to select the destination and save the file.
The Notification is now exported to the selected destination.
10.2.4. Importing Notifications
If there are Notification that needs to be imported, follow these steps:
To access the Notification Dashboard, Click on .
Navigate to the Group where the data is to be imported into.
Click on .
The “Choose File to Upload” window opens. Select the file to import to Notifications.
Click on the button.
The Notification or Notifications will be imported.
10.2.5. Deleting Notifications
If there are Notifications that need to be removed, follow these steps:
To access the Notification Dashboard, Click on .
Select the Notification or Notifications to be deleted.
Click on .
The confirmation dialog box opens to verify that the correct Notification to be deleted is selected. Click on “Yes” to delete the Notification. Click on “No” to cancel the action of deleting the Notification.
