8. Working with Search
The Search function assists the analyst in searching for specific information.
8.1. Working with the Search Manager
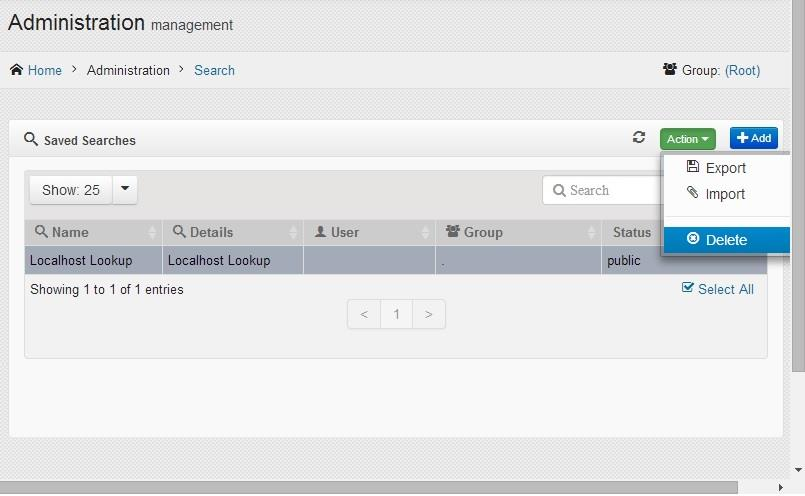
The Search Manager allows the Analyst to add new searches, look up the details of a saved search, or import, export, or delete a search.
8.1.1. Creating a New Search
This section provides the steps to create a new Search.
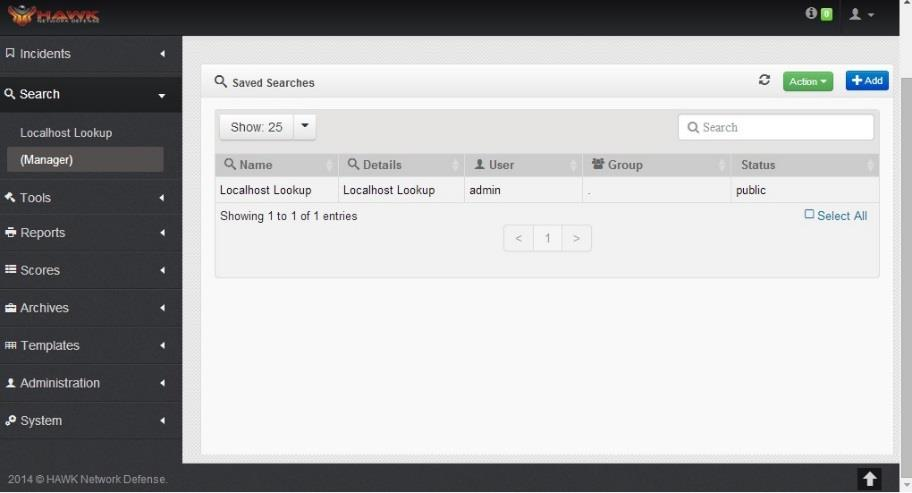
On the navigation panel, click on .
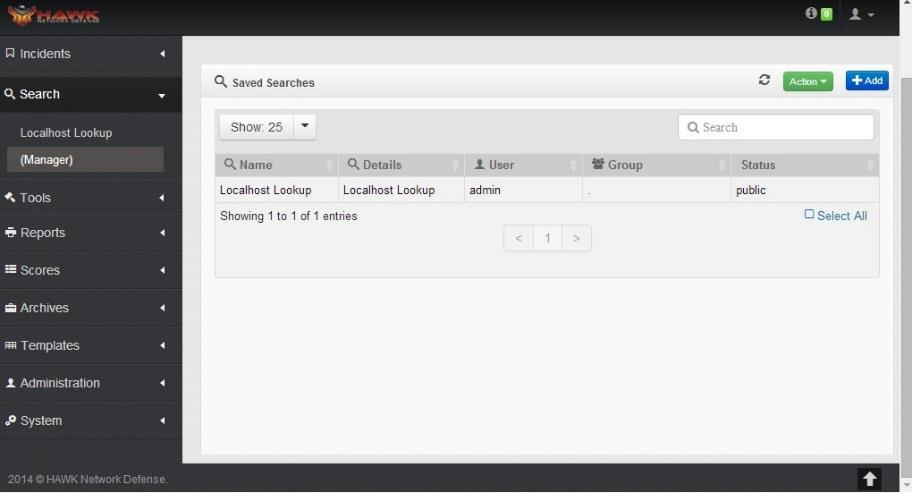
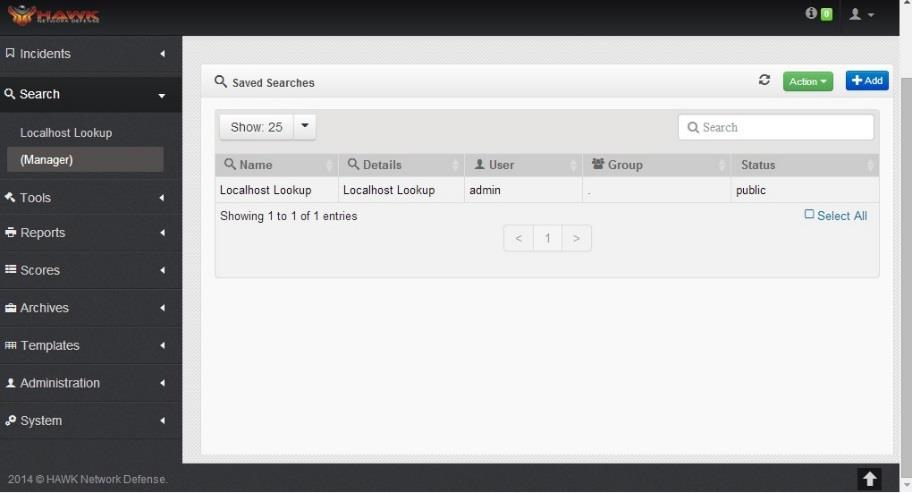
The Search Dashboard opens.
To add a new Search, Click on the button.
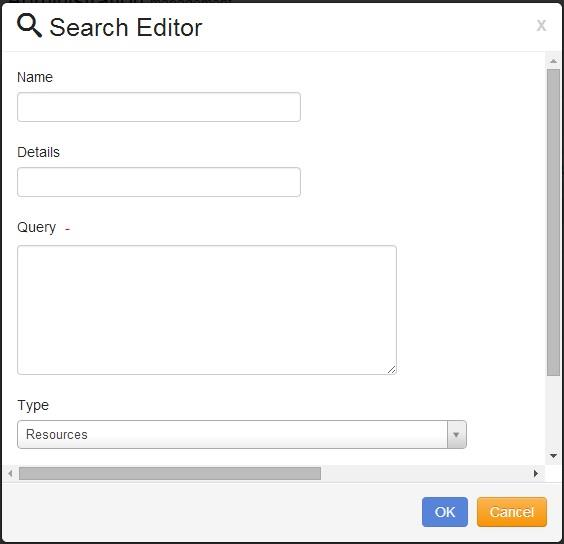
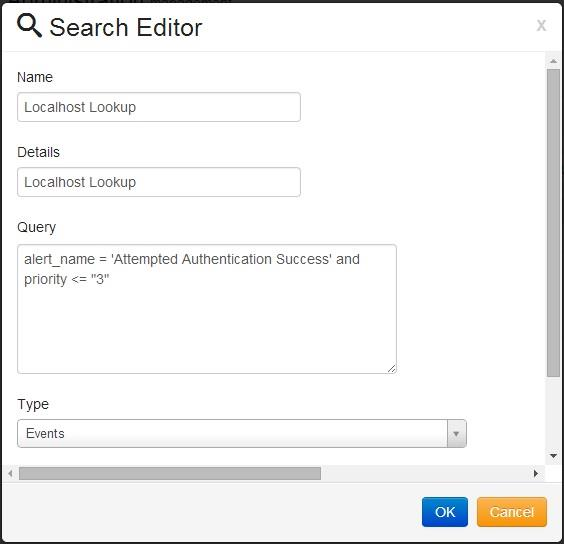
Enter the name of the Search in the Name field.
enter additional information regarding the search in the Details field.
Enter the Search Input Parameters in the Query field. For example:
Alert_name regex “/p2p/i” or (ip_dport>4000 and ip_dst regex “/^(^10.))/”
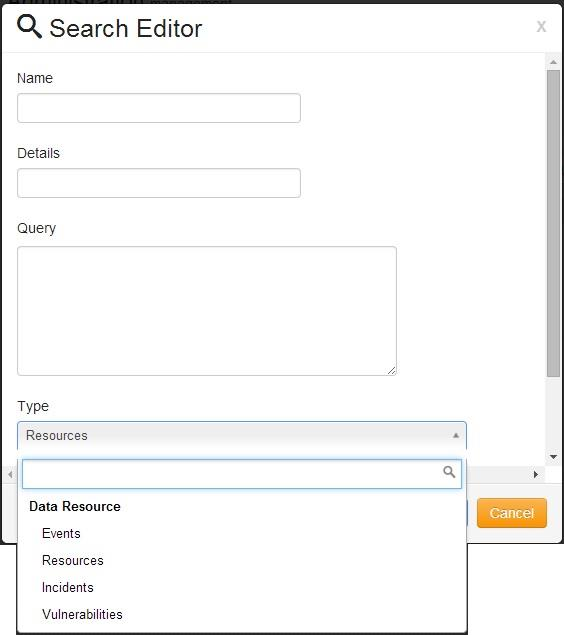
Click on the drop-down box for Type and select the type. The selections available include the following Data Resources:
Events
Resources
Incidents
Vulnerabilities
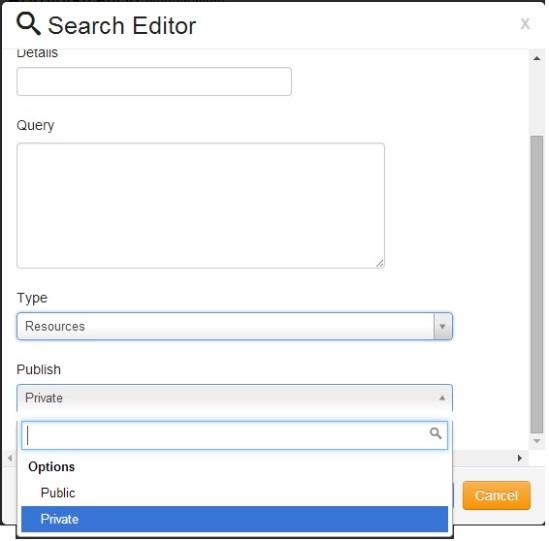
The next selection is Publish. This determines if the Search is available to everyone (Public) in the Group, or if it is available only to the creator of the Search (Private).
Click on the button to save the Search. Click on the button to discard the Search.
8.1.2. Displaying a Saved Search
In order to Display a Saved Search, follow these steps:
On the navigation panel, click on .
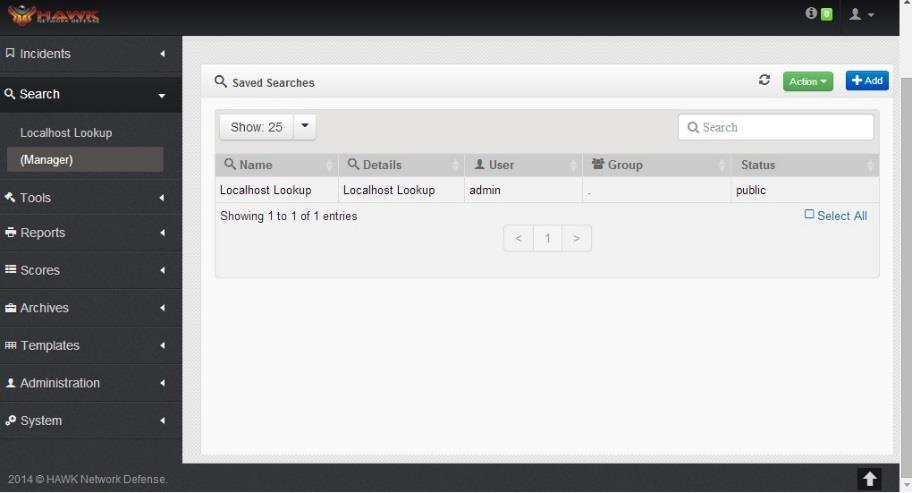
The Search Dashboard opens.
To view the details of a saved Search, Double-click on the desired Search, and the Search Editor opens, as shown:
If any details need to be changed, make the changes, and click on the button. To cancel viewing the existing Search, or to discard any changes made, click on the button.
8.1.3. Exporting a Search
A saved Search can be exported by following these steps:
On the navigation panel, click on .
The Search Dashboard opens.
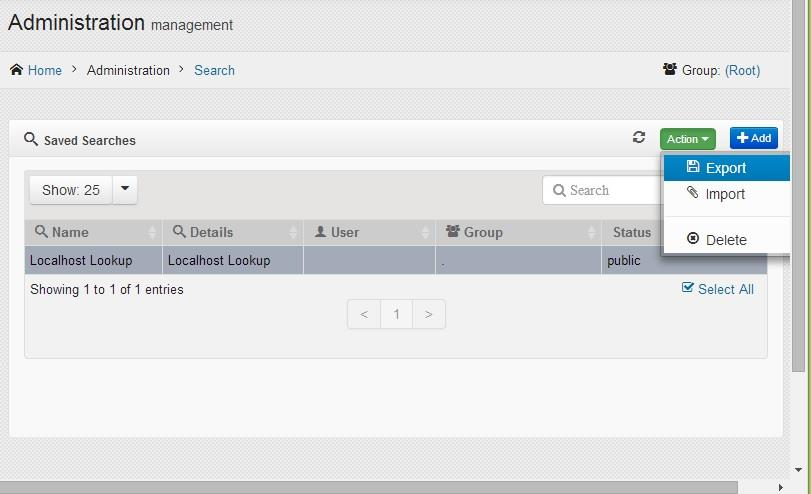
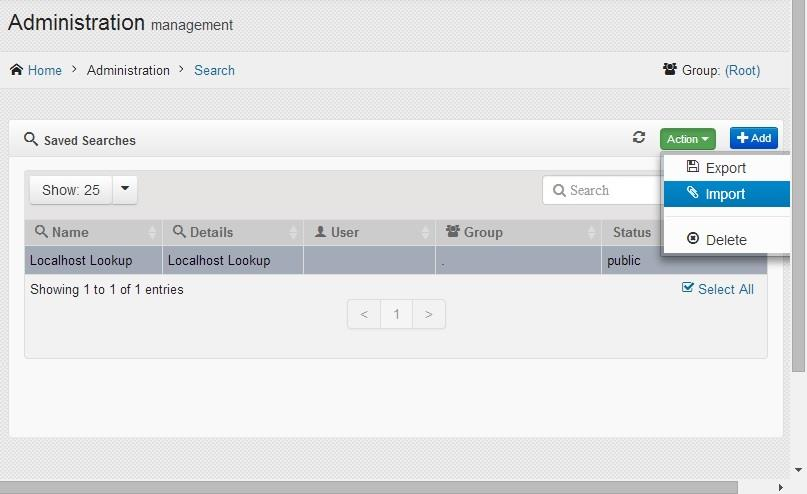
Select one or more saved Searches.
Click on the button.
A dialog window opens to indicate the export is successful.
8.1.4. Importing a Search
A saved Search and be imported by following these steps:
On the navigation panel, click on .
The Search Dashboard opens.
Click on the button.
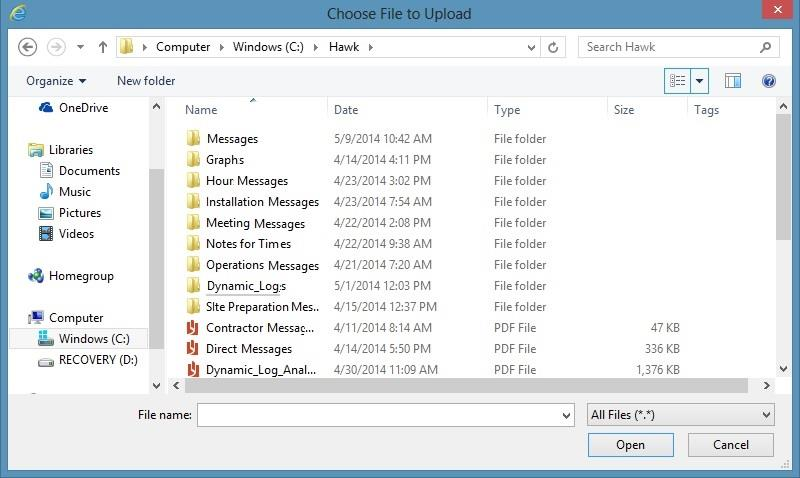
The “Choose File to Upload” box opens.
Navigate to the desired file to upload.
Click on the “Open” button.
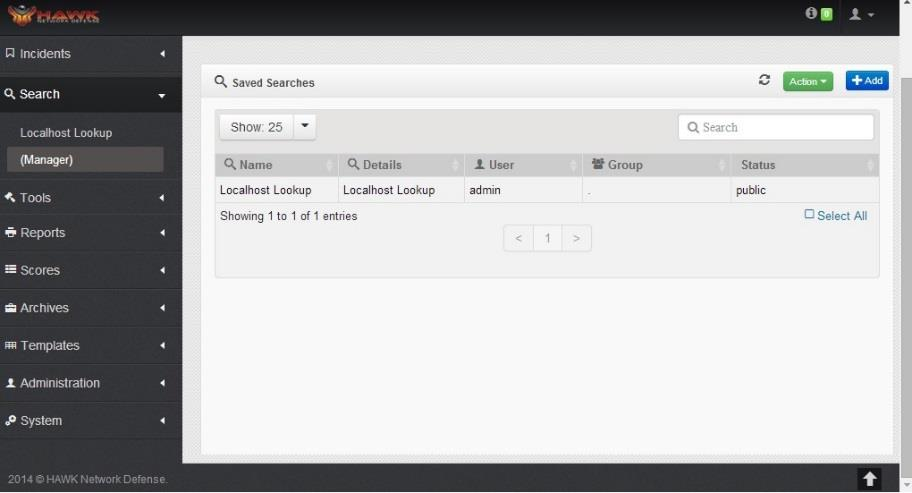
The selected file is now uploaded.
8.1.5. Delete a Search
A saved Search can be deleted by following these steps:
On the navigation panel, click on .
The Search Dashboard opens.
Click on the saved Search or saved Searches to delete.
Click on the button.
A delete confirmation box opens to ensure the correct Search is selected for removal.
Click on the “Yes” button to confirm the delete.
Click on the “No” button to cancel removal of the selected Search.
8.1.6. Applying a Quick Search
When on a Dashboard, a Quick Search can be performed by following these steps:
Click in the Search box at the top of the dashboard.
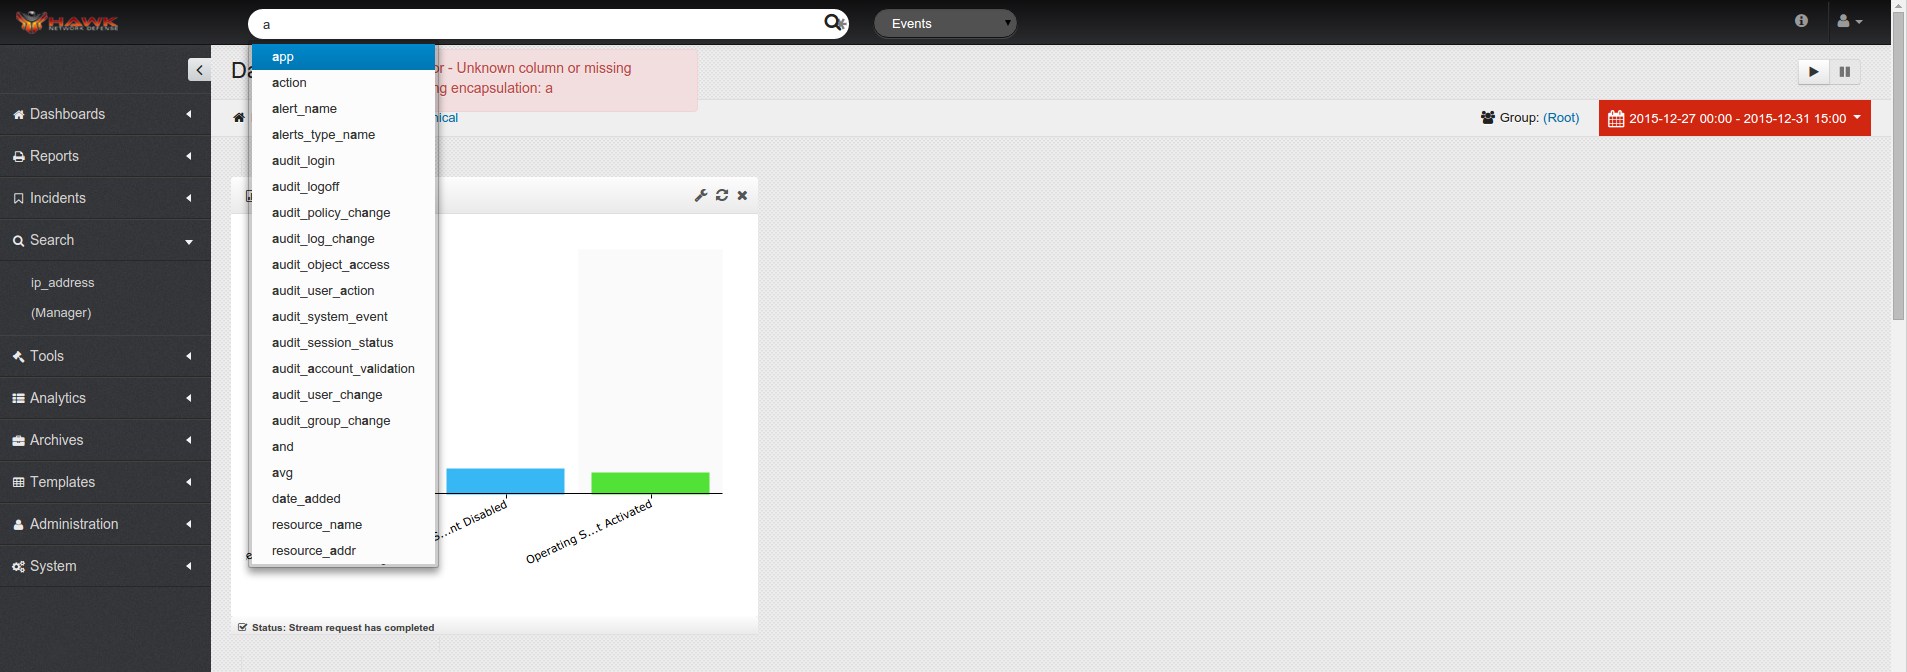
Begin entering the search parameters, and a drop down menu opens to allow selection of the column name for the search.
Click on the desired column name.
The next step is to enter the Operand and a list of the Operands opens.
Once the Operand is entered, enter the string encapsulation value.
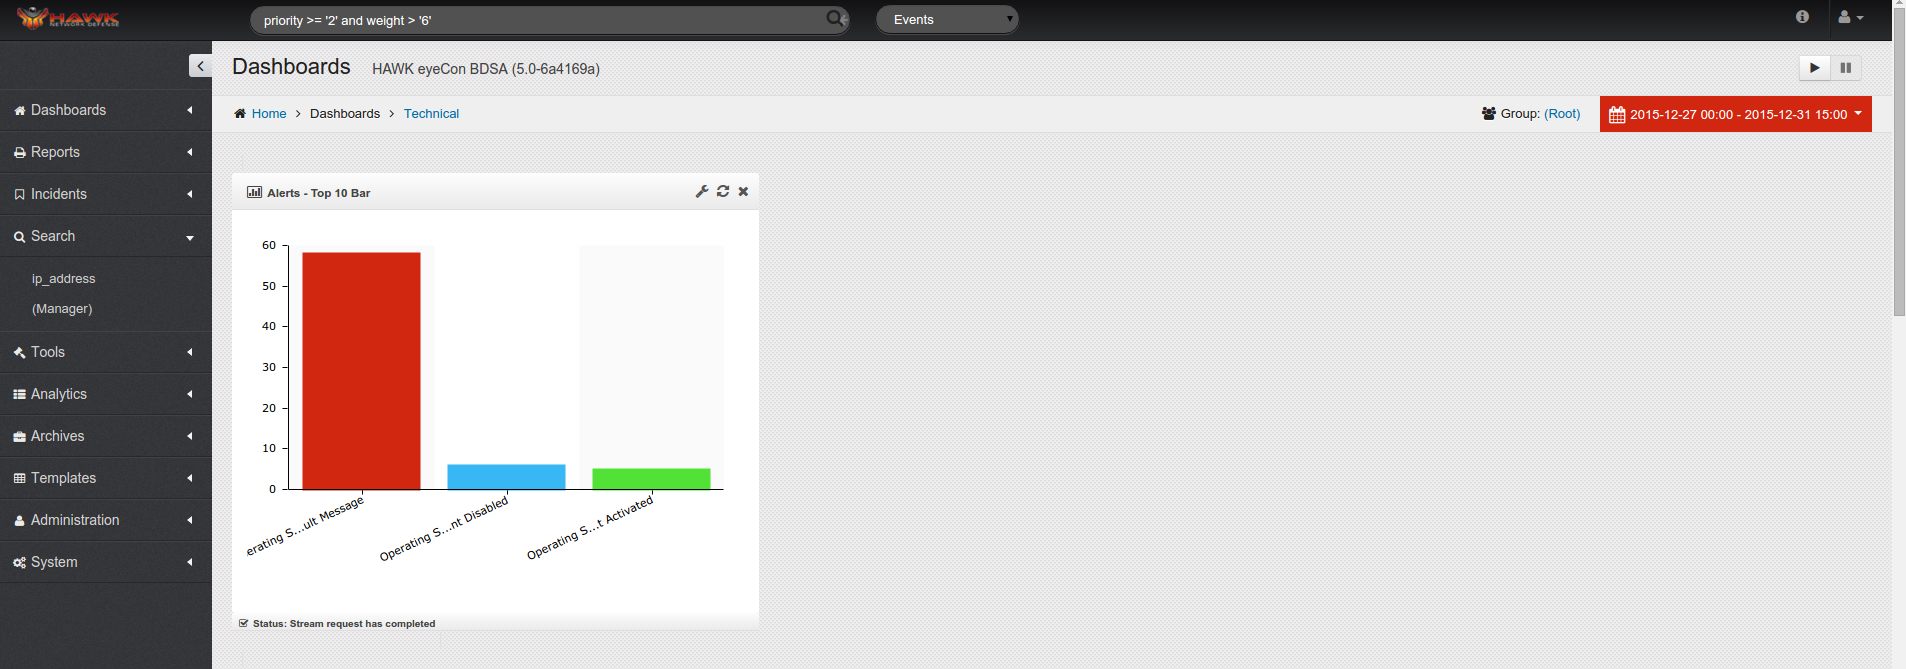
A complex search can be performed by adding more content, such as: (priority >= ‘2’ and weight > ‘6’)
Click on the Search icon to begin the search.
The widgets are updated to the results of the Search.
8.1.7. Applying a Saved Search
A saved search can be applied to the Widgets on the Dashboard by following these steps:
On the navigation panel, click on the desired Dashboard and make sure it opens.
Click on .
The Search criteria is applied to the Widgets on the Dashboard.
