5. Understanding the Archives
Data needs to be archived to ensure sufficient space on the active Shards. This allows the critical information regarding events, threats, and other data to be saved for future retrievals. This section identifies how to work with the archives and the activities which can be accomplished with the archives.
5.1. Working with the Archives
There are several activities that can be performed on the Archives, and are shown in the section below:
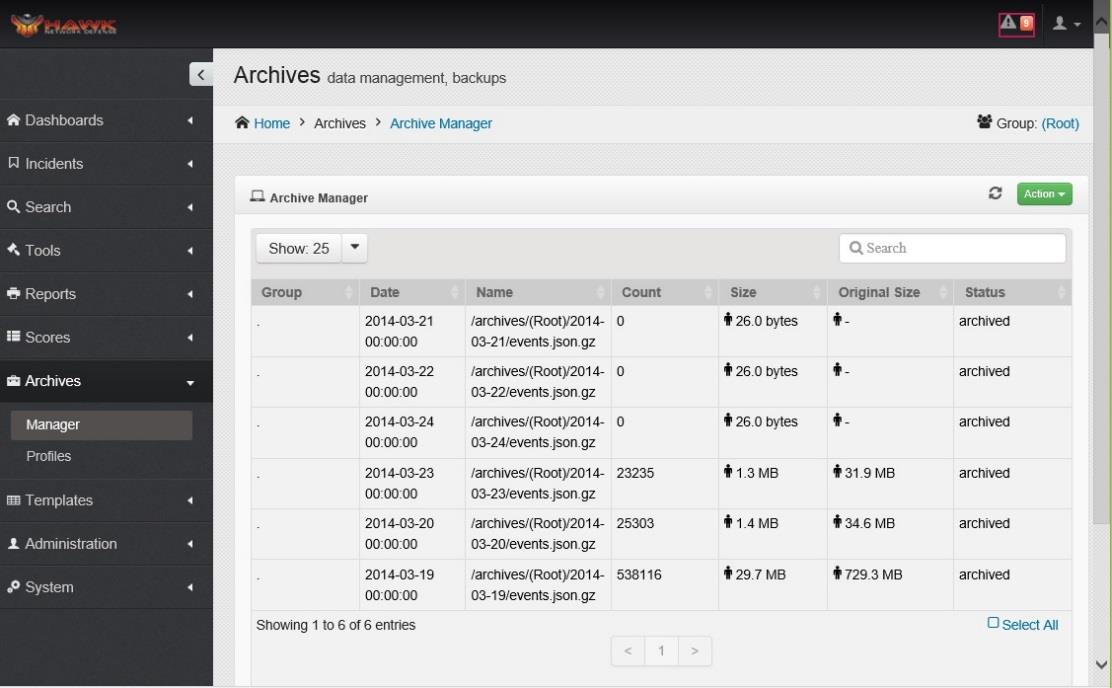
5.1.1. Viewing the Archive Dashboard
The Archive Dashboard can be viewed by performing the following steps:
On the navigation panel, click on .
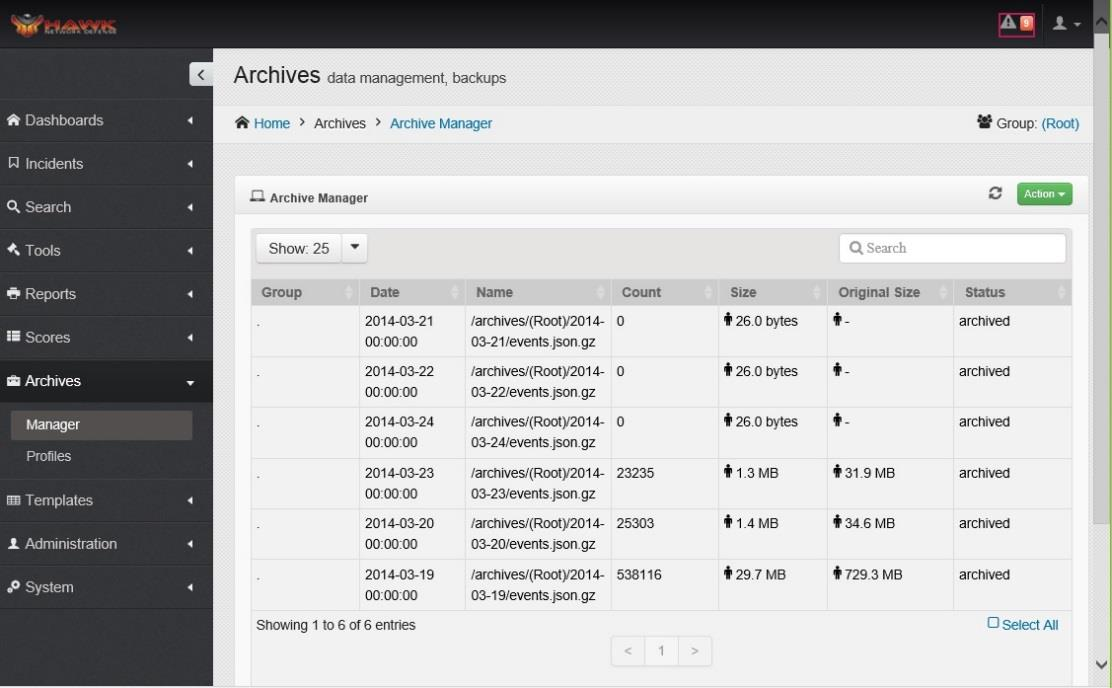
The Archive Dashboard opens.
The following information is shown for each Archive:
Group
Date archived
Filename
Count
Size of Archive
Original Size of Archive
Status of the Archive - whether the data is archived or in progress
5.1.2. Changing the Group for the Archive
The Archive can be moved to another Group by following these steps:
On the navigation panel, click on .
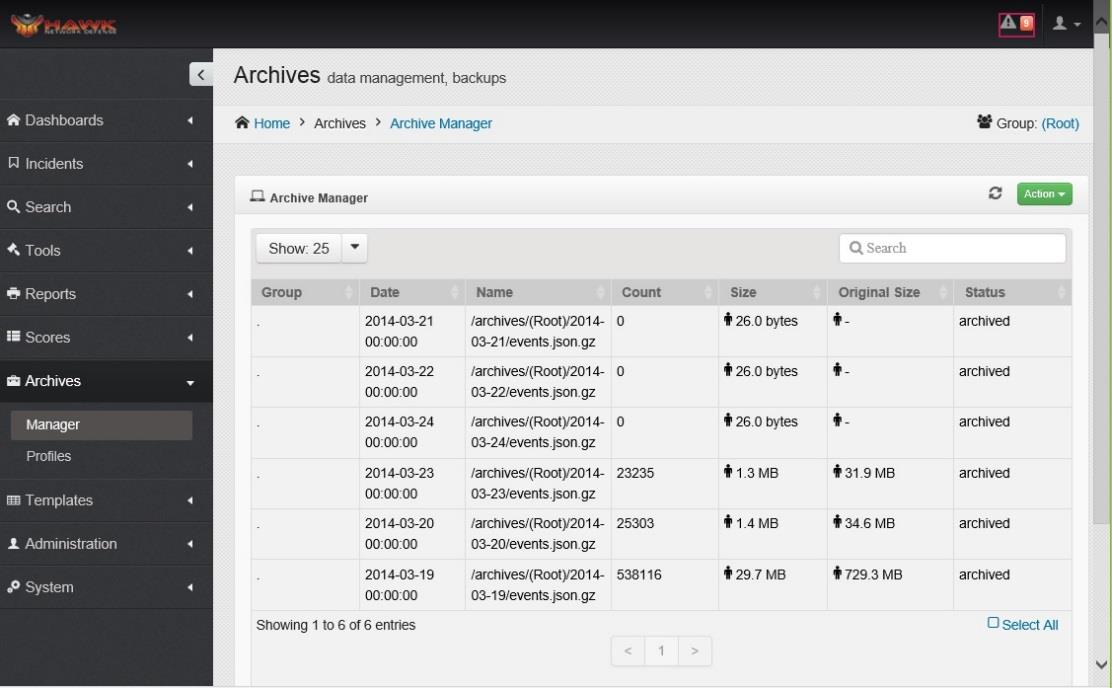
The Archive Dashboard opens.
On the top right side of the Archive Manager Dashboard, click on the link to the Group shown. In this example, the Group is “(ROOT)”.
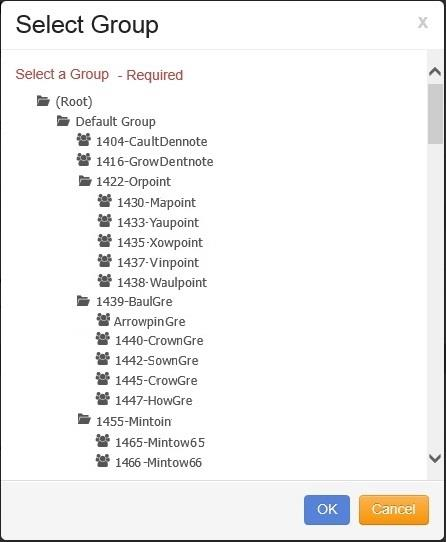
The “Select Group” window opens:
Click on the desired Group.
Click on the button to change the Archive Viewer to a different group. To cancel the change to the new Group, click on the button.
The Archive refreshes to display the Archives for the selected Group.
5.2. Using the Archive Manager
The Archive Manager allows the analyst to export or delete the archive’s configuration, by following these steps.
5.2.1. Exporting Archives
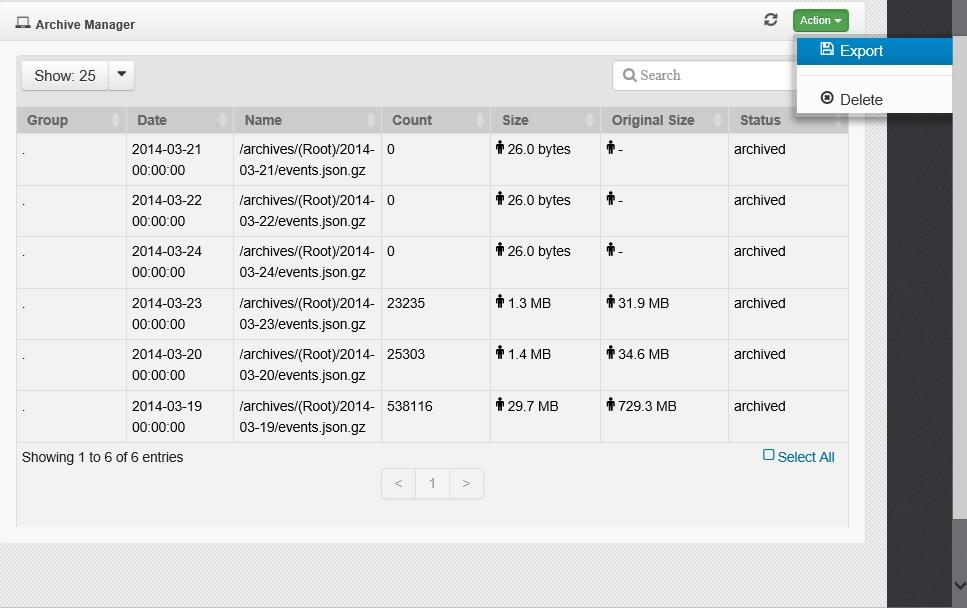
The Archive can be exported to a spreadsheet by following these steps:
On the navigation panel, click on .
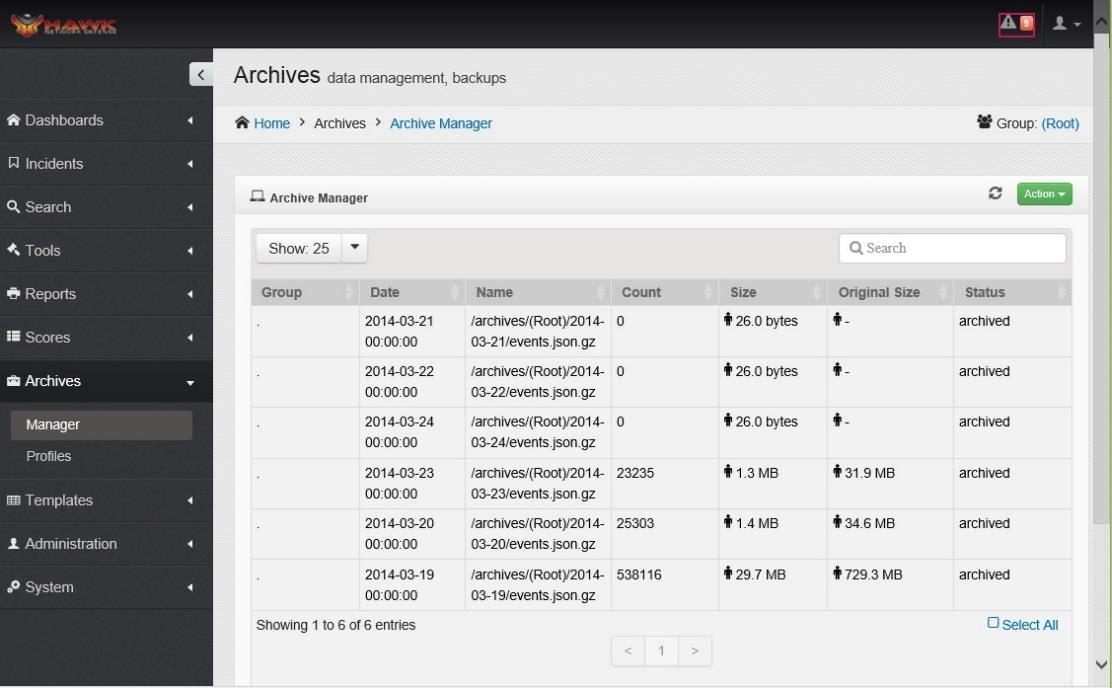
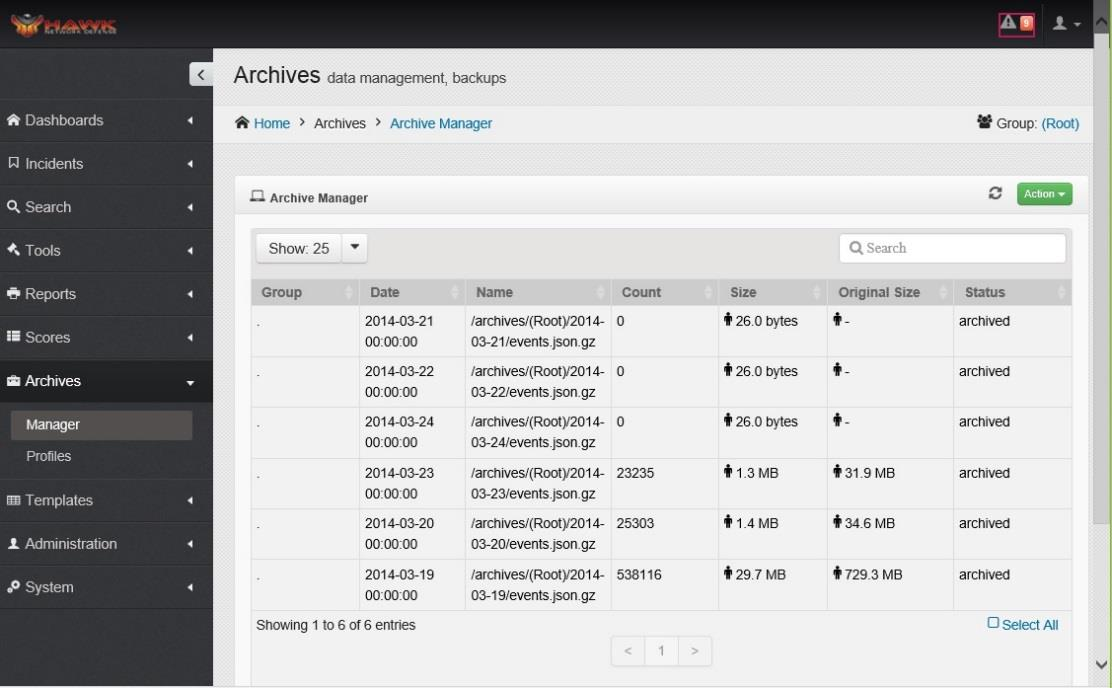
The Archive Dashboard opens.
Click on the desired Archive or Archives to export.
Click on the button.
The window opens to “Select the destination” for the exported file. Navigate to the desired destination, and click on the “Save” button.
The Selected Archive or Archives details are now exported to the selected destination.
5.2.2. Deleting Archives
If the Archived record is no longer needed, it can be deleted by following these steps:
On the navigation panel, click on .
The Archive Dashboard opens.
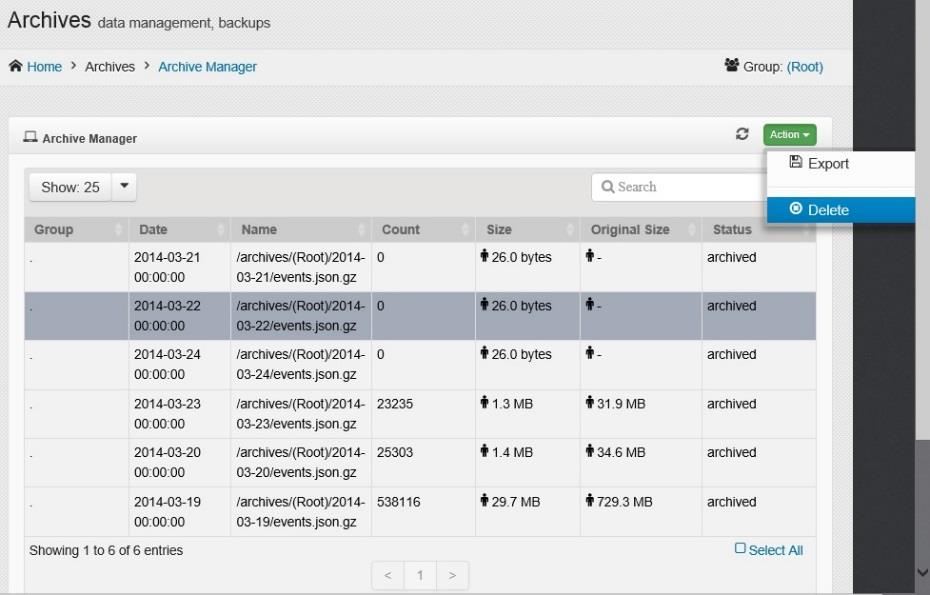
Click on the Archive or Archives to be deleted.
Click on the button.
A verification window opens to allow the analyst to verify that the item(s) selected is to be deleted.
Click on the “Yes” button to delete the selected Archive(s). Click on the “No” button to cancel the delete.
The selected Archvie or Archives is deleted.
Note
To delete the Archives permanently. Files must be manually removed from the Archive location. Format is /drive/group/date/Data Resource.json.gz. Where data resource can be: Events, Vulnerabilities, Incidents, Audit.
5.3. Managing the Archive Profiles
The Archive Profiles can be either set up as a new Profile or deleted by following these steps:
5.3.1. Creating Archive Profiles
If a new Profile for the Archives needs to be created, follow these steps:
On the navigation panel, click on .
The Archive Profiles opens.
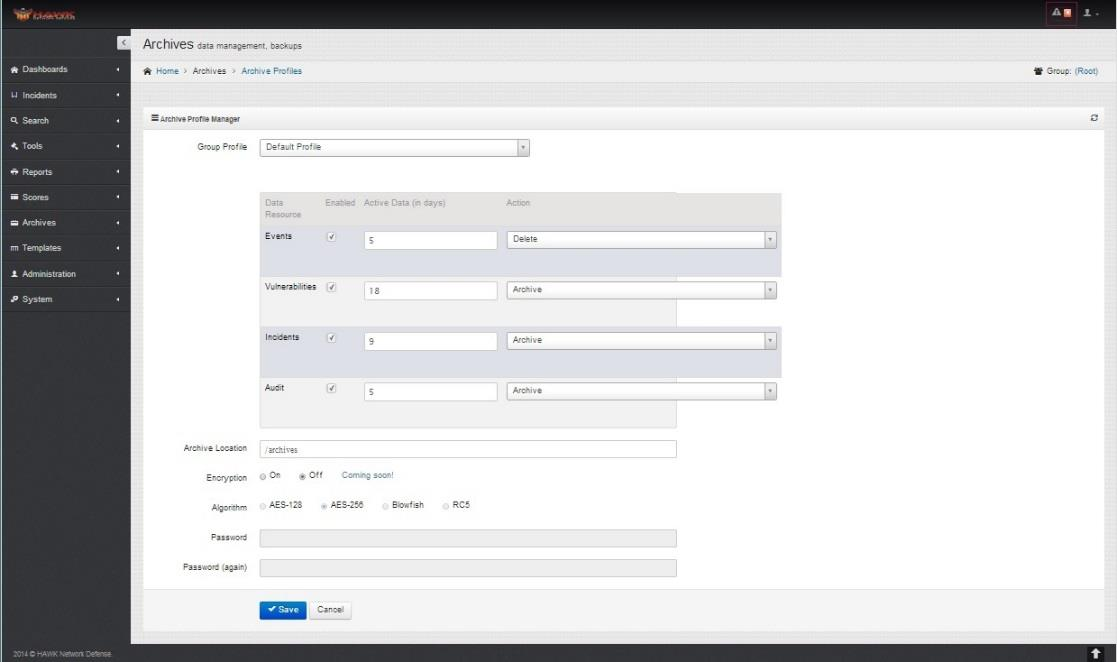
This window allows the analyst to create a new Profile for the Archives.
Click on the drop-down arrow for Group Profile and the list of Groups opens. Click on the desired Group for the new Profile.
The next step is to determine criteria for each Data Resources that are:
Events
Vulnerabilities
Incidents
Audits
The options include:
Enabled - Click on each check box for the Data Resource that is enabled.
Number of Days of Active Data - Enter the number of Active Days that are archived for each Data Resource.
Action - Select from the drop-down men whether the Data Resource is Deleted or Archived.
Enter the Archive Location.
Encryption is a future feature and will be turned on or off.
Click on the appropriate Algorithm for the Archive. The choices are:
AES-128
AES-256
Blowfish
RC5
Enter the Password
Retype the Password.
Click on the button to retain the changes, or click on the button to discard the changes.
5.4. Archiving Events
Archiving of events has been moved to hawk-msgd service. It is required to update all 3 hawk-msgd services.
Edit the hawk-msgd.cfg file on each server running the service.
user@host#: vi /opt/hawk/etc/hawk-msgd.cfg
Locate the Settings section and update the sink_archive value to ‘true’. Update the consumer_partition to either 0, 1, or 3. Each server should have a unique consumer partition. (server 1 should be set to 0, server 2 should be set to 1, server 3 should be set to 2)
[SETTINGS]
sink_archive = true
consumer_partition = [0, 1, or 3]
Locate the Archive section and update the path to a common mount point.
[ARCHIVE]
path = /archives
Note
It is required to have a common mount point that all 3 servers can write too.
Restart the hawk-msgd service.
user@host#: service hawk-msgd restart
