2. User Administration
Users must be defined on the system in order to access it. The following steps provide instruction on how to add users, move users to another group, export users, import users, and delete users, and steps for the individual user can access their specific settings to update or change.
2.1. Managing Individual User Settings
Once the User is defined, individual information can be managed by the User. The following steps show how the User can access their individual user settings:
On the navigation panel, click on
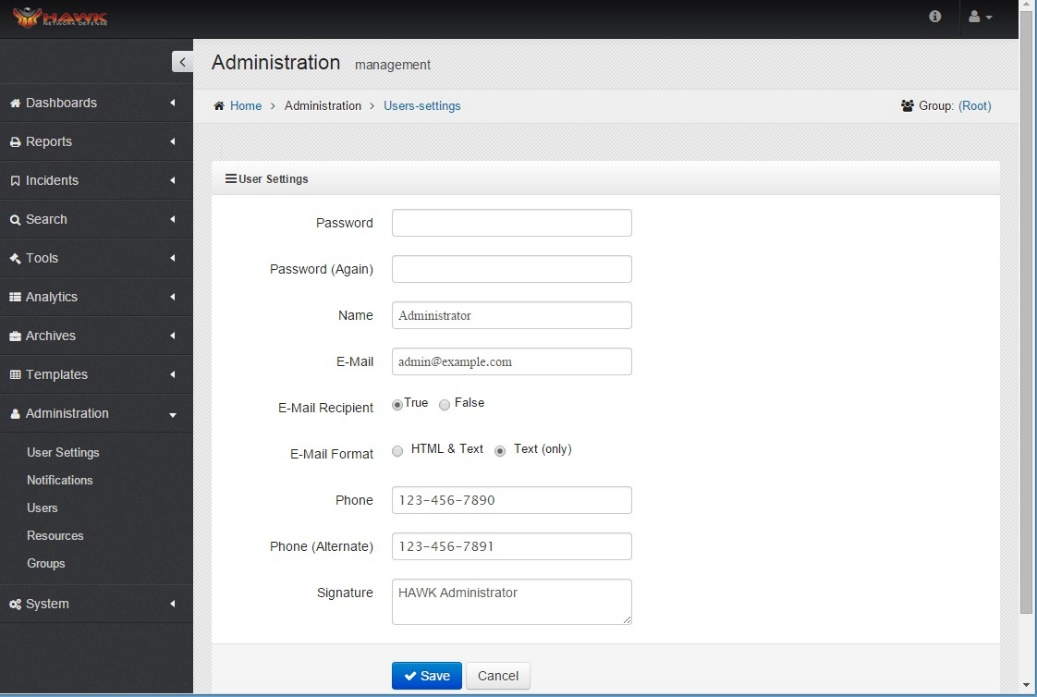
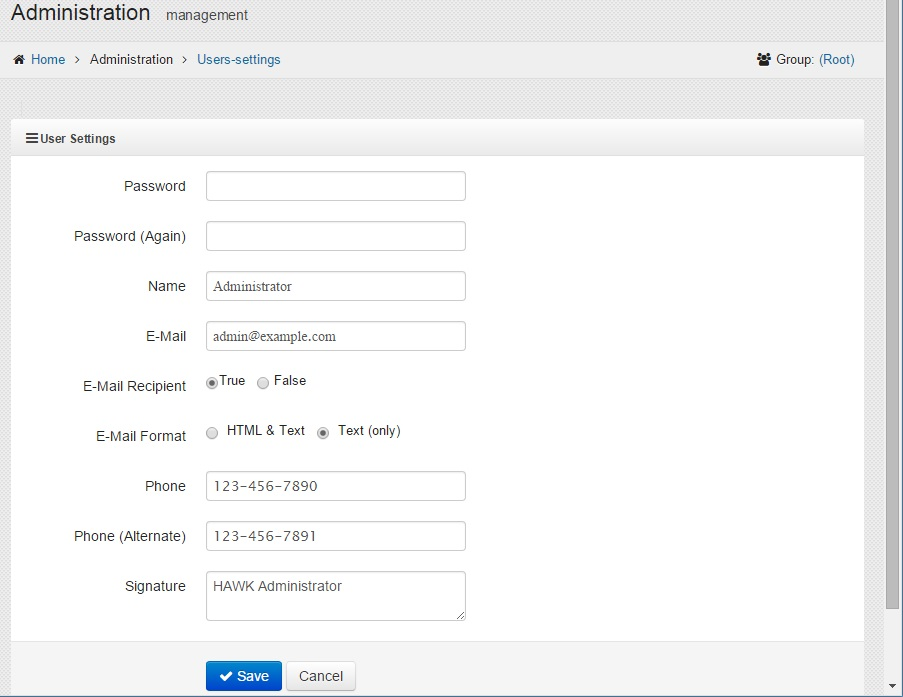
The “User Settings” window opens:
In the “User Settings” window, Enter the following details for the user:
Password
Password Confirmation
Name
E-Mail Address
E-Mail Recipient
- E-Mail Format
HTML and Text
Text (only)
Phone
Alternate Phone
Signature (for E-Mail)
Click on Save to retain the changes.
2.2. Using the User Dashboard
There is assorted information about the users assigned to the various Groups which can be viewed on the Users Dashboard. The information contained in the User Dashboard, and accessing that Dashboard is shown below:
On the navigation panel, click on .
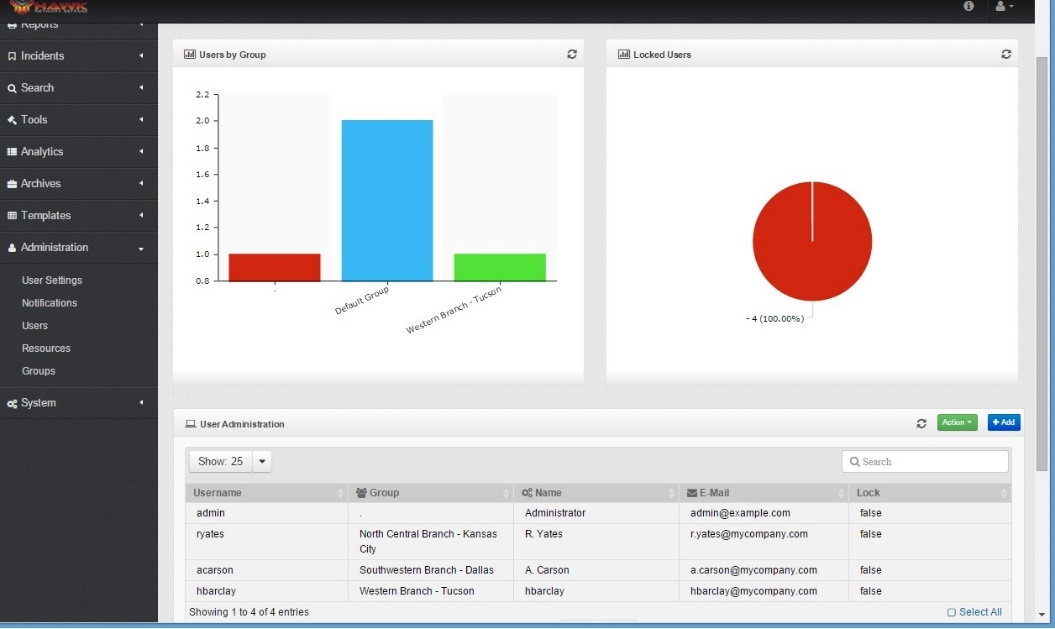
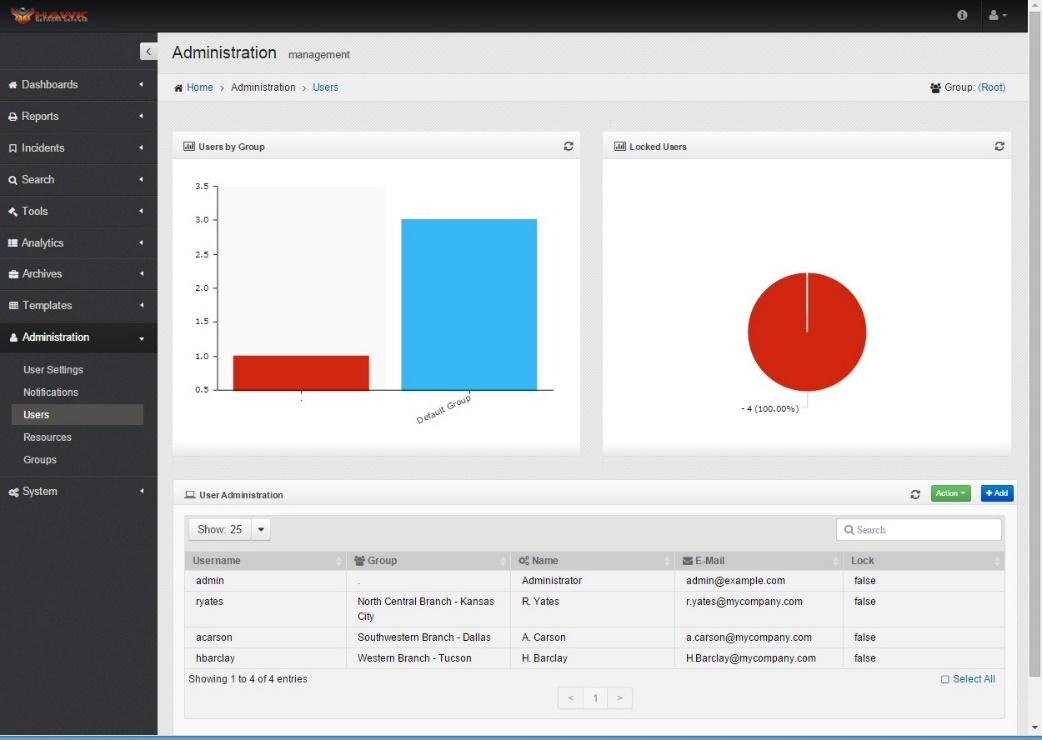
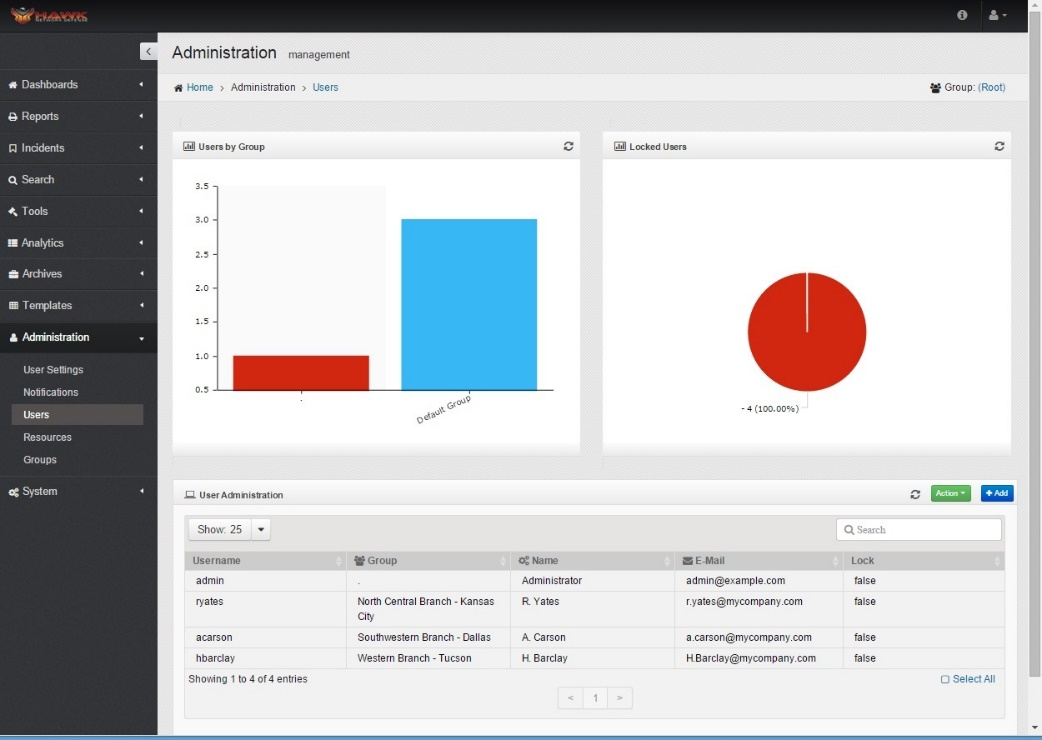
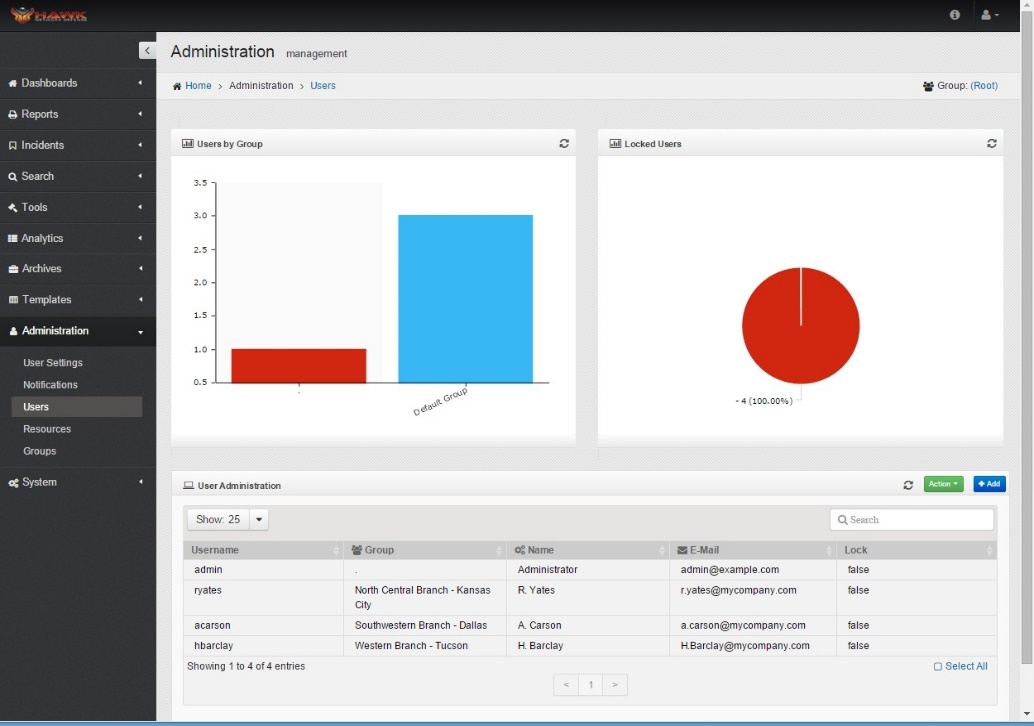
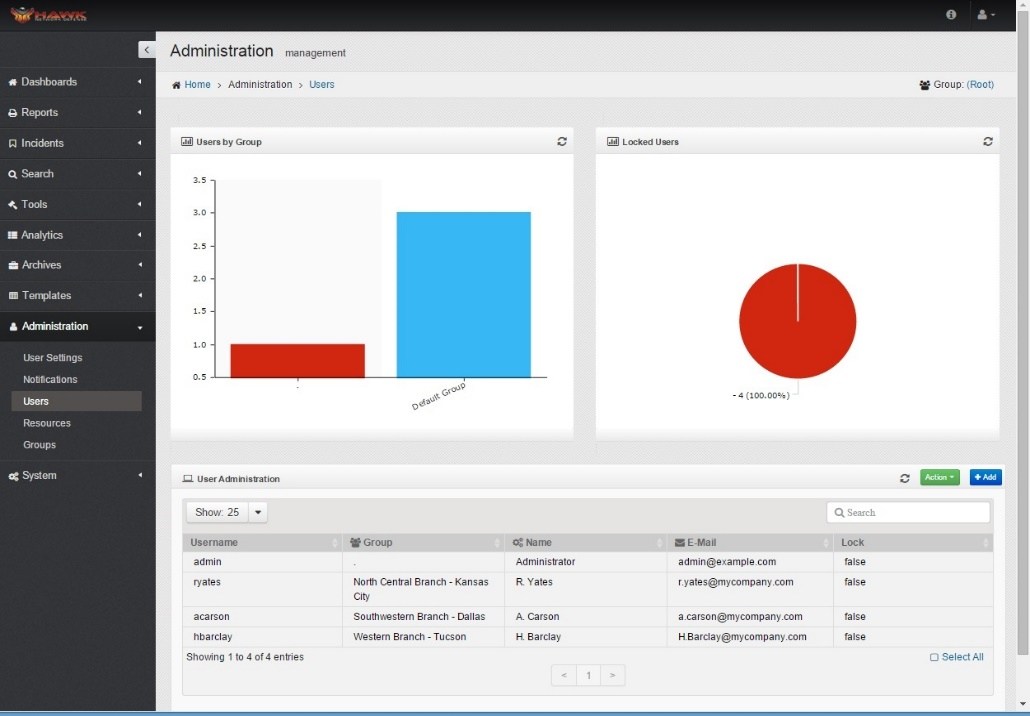
The Administration Management for Users window opens, as shown:
This Dashboard shows the following:
Number of users by group.
Number of locked out users.
List of users.
2.2.1. Users by Group
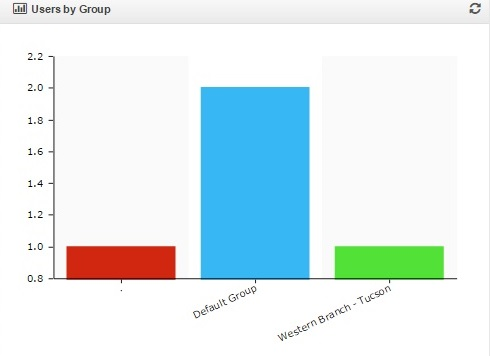
The “Users by Group” widget is automatically defined. This graphic shows the Groups which are currently defined and the number of users assigned to each Group.
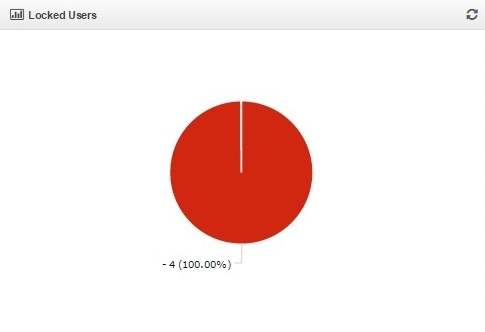
2.2.2. Locked Users
The “Locked Users” widget is automatically defined. This widgets shows the number of users which are locked out either because they tried to log in too many times, or the user is newly defined and set up prior to access being granted for the user.
2.2.3. User Administration Table
The User Administration table provides a complete list of all the users allowed access to the HAWK eyeCon system.
This table shows the following information for each defined user:
Username
Group
Name of the User
E-Mail address
Locked status (True = Locked, False = Unlocked)
Users can be added, moved to another Group, or deleted. Information for users can be exported to a table or imported from another file when there are large numbers of users to add.
Note
Logged in user will only be able to see and modify users in their parent group and sub-groups of that parent group. Its also required to have the ‘Administration’ Access Control permission.
2.3. Working with the User Dashboard
The User Administration feature allows new users to be created, users to be reassigned (moved) from one Group to another, imported from an external flat file, exported to an external flat file, or deleted if they are no longer allowed access to the HAWK eyeCon system.
This section provides instructions on working with the Users in the User Administration section.
2.3.1. Creating New Users
Users must be added to the system in order to access any of the data.
To add users, follow these steps:
On the navigation panel, click on .
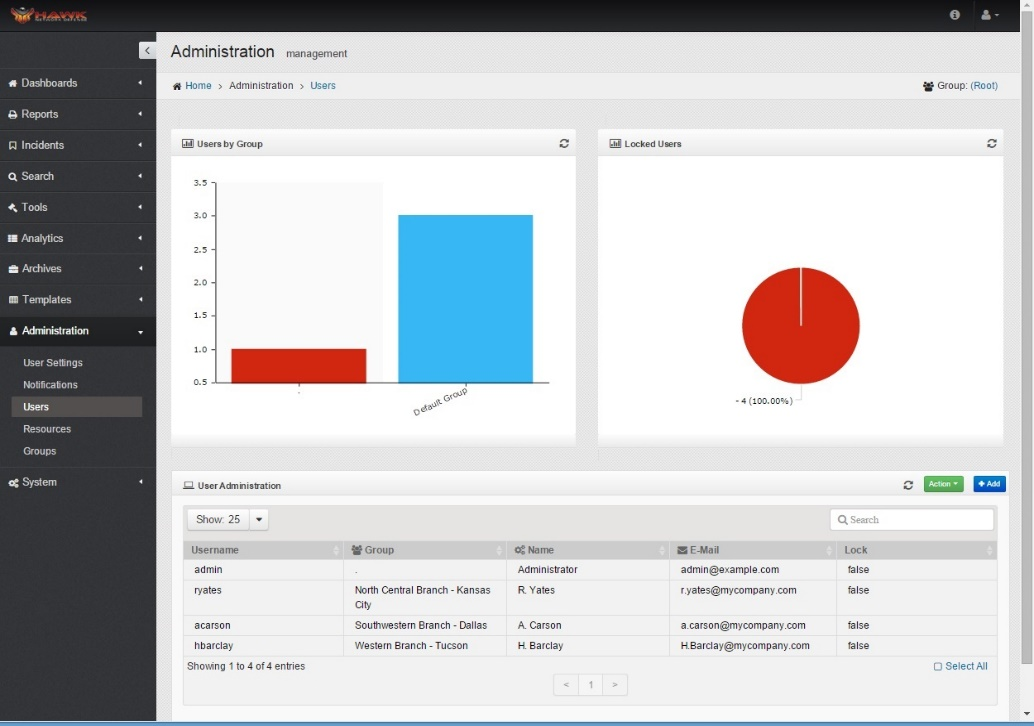
The Administration Management for Users window opens as shown:
In the User Administration section, click on the button.
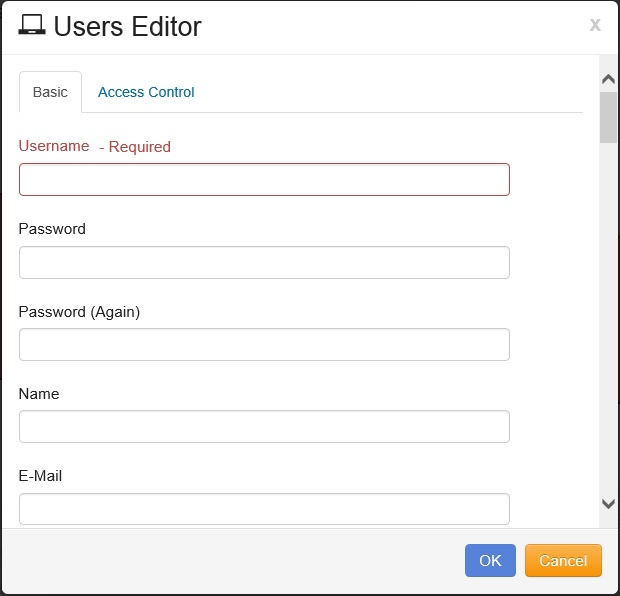
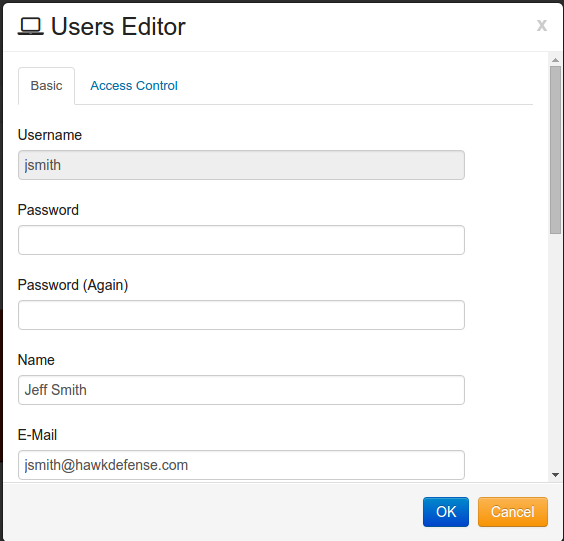
The “Users Editor” window opens in the tab to allow the new user to be defined.
The first step to define the new user is to enter the following information for the user:
Username
Password
Password Confirmation
Name
Group
Phone
Phone (Alternate)
Lock account
Enable E-Mails
Signature
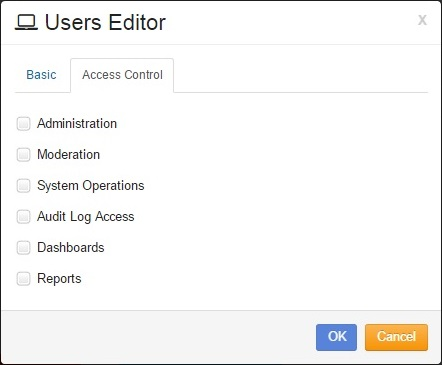
Click on the tab to define the Access capability for the user.
There are six areas to which the user can access:
Administration
Moderation
System Operations
Audit Log Access
Dashboards
Reports
Click on the check box next to the desired access levels.
Once all information for the user is completed, and the access is identified, click on the button to save the user.
This notification appears when the new user is successfully added.
2.3.2. Updating the Users
Users must be updated in the system when their information changes.
To update users, follow these steps:
On the navigation panel, click on .
The Administration Management for Users window opens as shown:
In the User Administration section, Double click on the user you want to update.
The “Users Editor” window opens.
The User’s information can be changed by changing the information in the field.
Note
The username can not be changed. If you need to change the username you have to delete the user and re-create the user with the new username.
Once all information for the user is completed, and the access is identified, click on the button to save the changes.
A dialog box opens to indicate the progress and success of saving the changes made to the User.
The change appears in the “User Administration” panel.
2.3.3. Moving Users
Users can be moved from one group to another by following these steps:
On the navigation panel, click on .
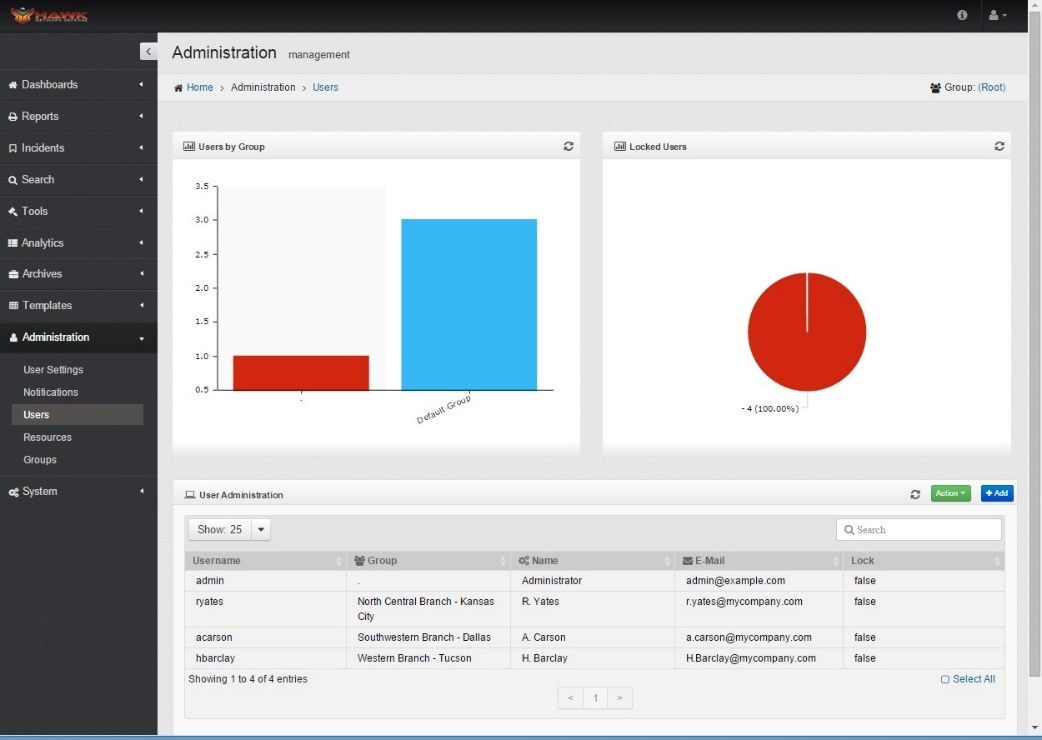
The Administration Management for Users window opens as shown:
Click on the desired user or users to move.
Click on .
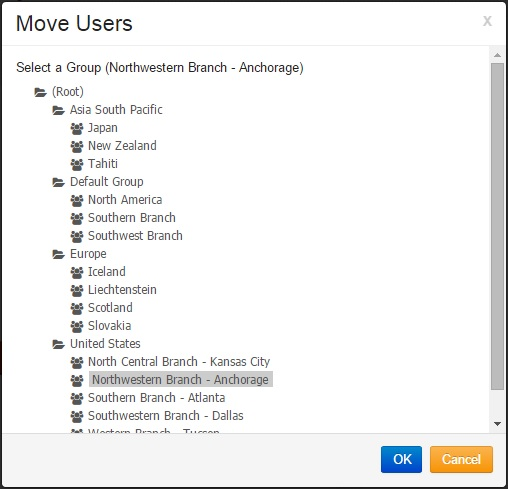
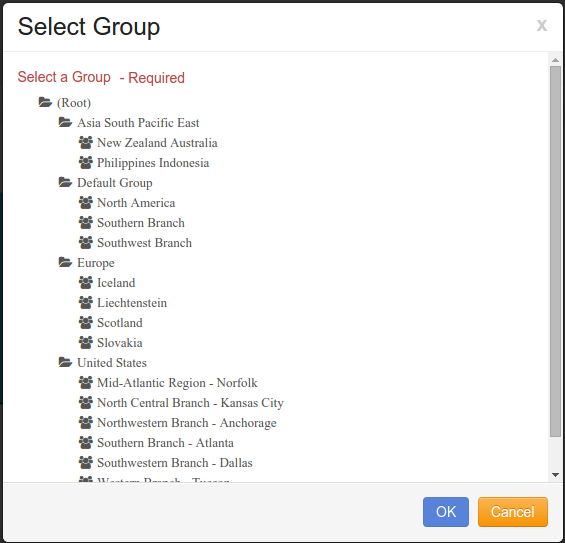
The Move Users window opens:
Click on the Group where the user(s) is to be moved.
Click on the button to move the user(s) to the selected Group.
A dialog box opens to show the User number is successfully moved to the selected Group.
The selected user is moved to the specified Group.
2.3.4. Exporting a User or Users
Data regarding users can be exported to csv file, by following these steps:
On the navigation panel, click on .
The Administration Management for Users window opens as shown:
Click on the desired user or users to export.
Click on .
Save the file to the desired location.
When the user is successfully exported, this notification dialog opens.
2.3.5. Importing a User or Users
Data regarding users can be imported, by following these steps:
On the navigation panel, click on .
The Administration Management for Users window opens as shown:
Click on .
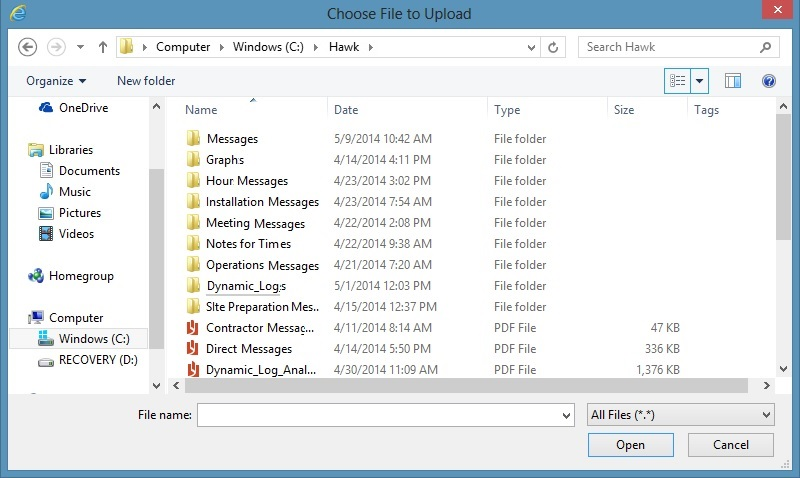
The “Choose File to Upload” window opens. Navigate to the file to import, and click on the file, Then click on the “Open” button to import the file.
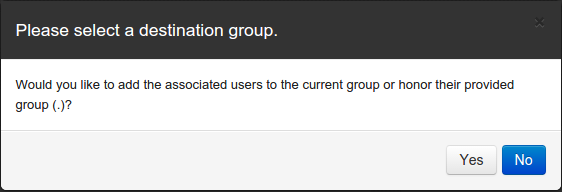
It will ask you, “Would you like to add the associated users to the current group(Group Name)?.
If you Select ‘Yes’, It will add the users to the group shown.
If you Select ‘No’, It will bring up a “Select Group” screen.
After you have selected the desired group. Click on
2.3.6. Deleting a User or Users
Data regarding users can be deleted, by following these steps:
On the navigation panel, click on .
The Administration Management for Users window opens as shown:
Click on the desired user or users to delete.
Click on the .
The delete confirmation dialog box opens to confirm that the selected user is to be removed.
Click on the “Yes” button to delete the selected user or users. Click on the “No” button to Cancel the removal of the user or users.
A dialog box opens to indicate the progress of the item(s) being deleted.
A dialog box opens to show the item was successfully removed.
